
Introducing CSI
I have recently been revising the photo processing business in the hope of coming to terms with all of the photos from the last visit, perhaps even in time for a new trip. New life appears to have been breathed into PHP’s Imagick project so that it will now do a number of things that haven’t yet even appeared in the official documentation, although, if you scratch beneath the surface they are there. This means that my photo processing stuff can be developed with Imagick, which is preferable from a programming point of view (repeat after me: (I (do (not (like (lisp…)))))). After sorting out the median pixel business I was finding out how to get Imagick to do GIMP “grain extract” layering when I made an interesting discovery.
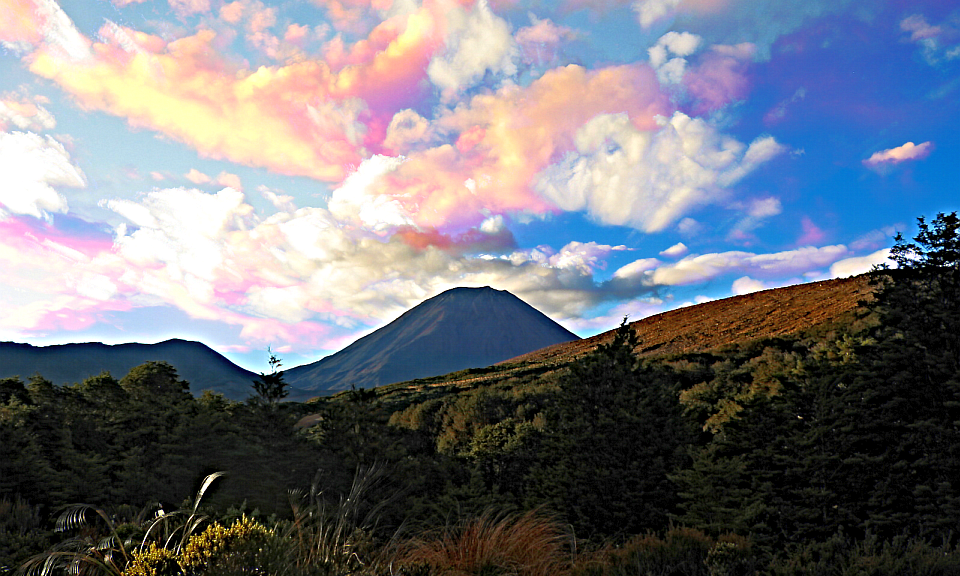
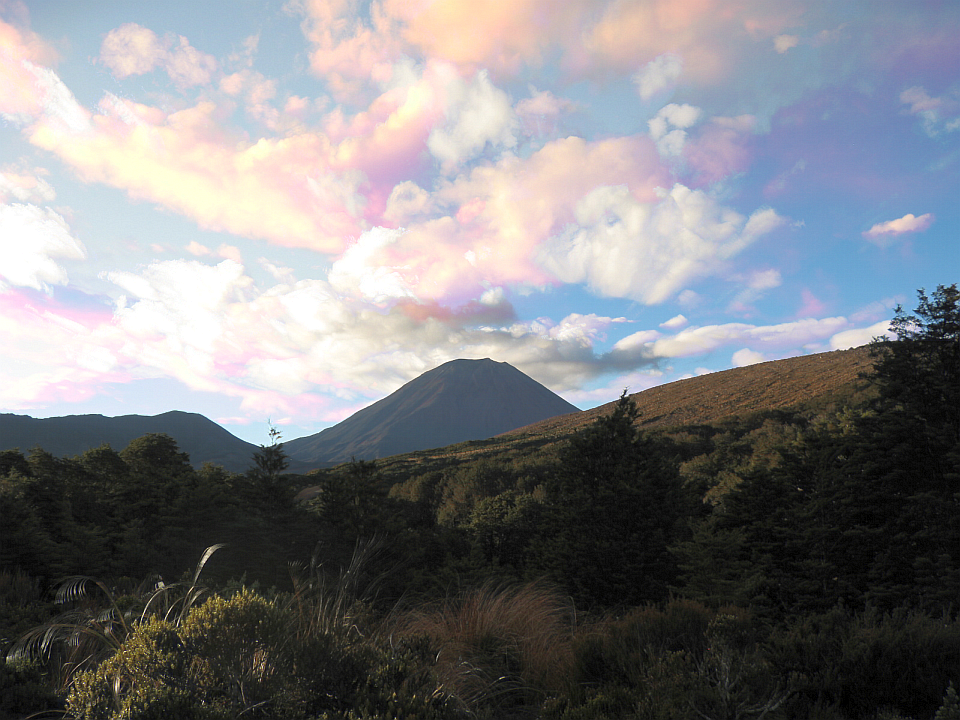
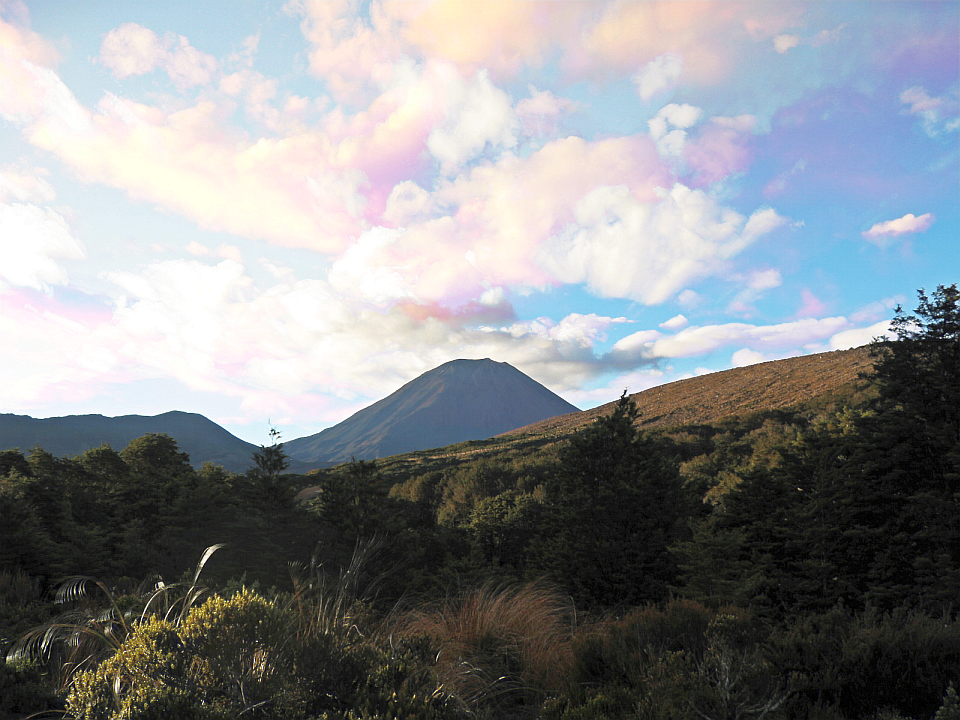
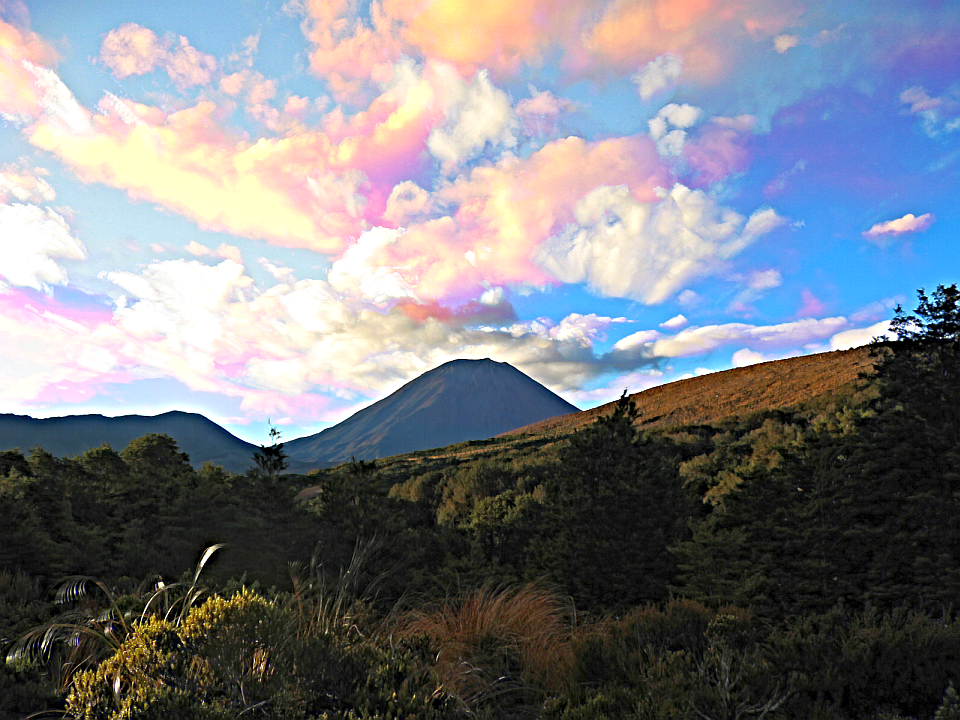
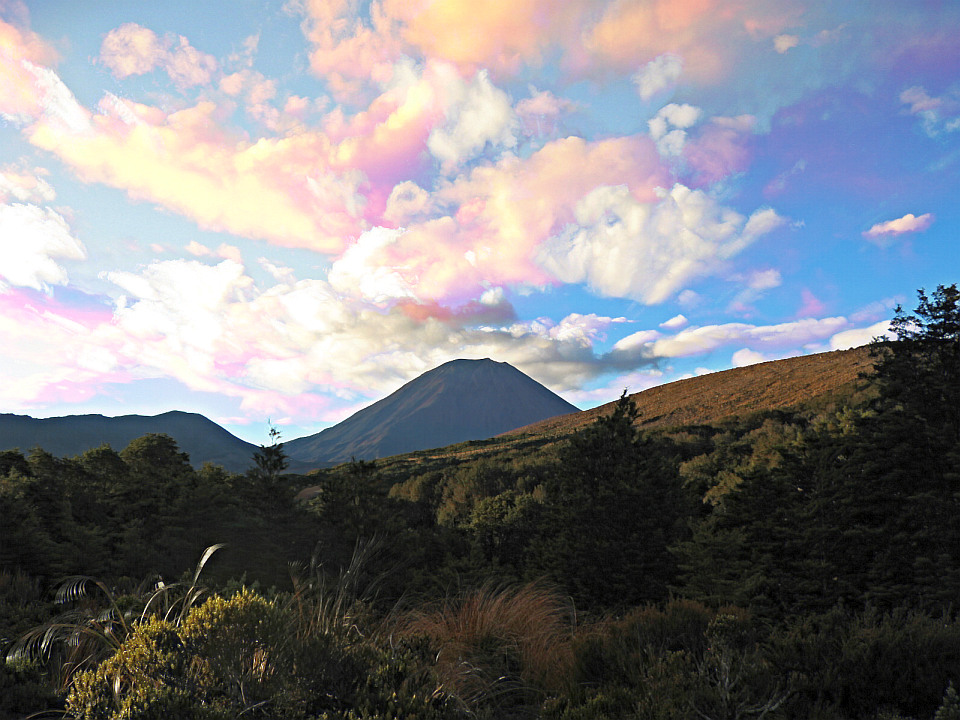
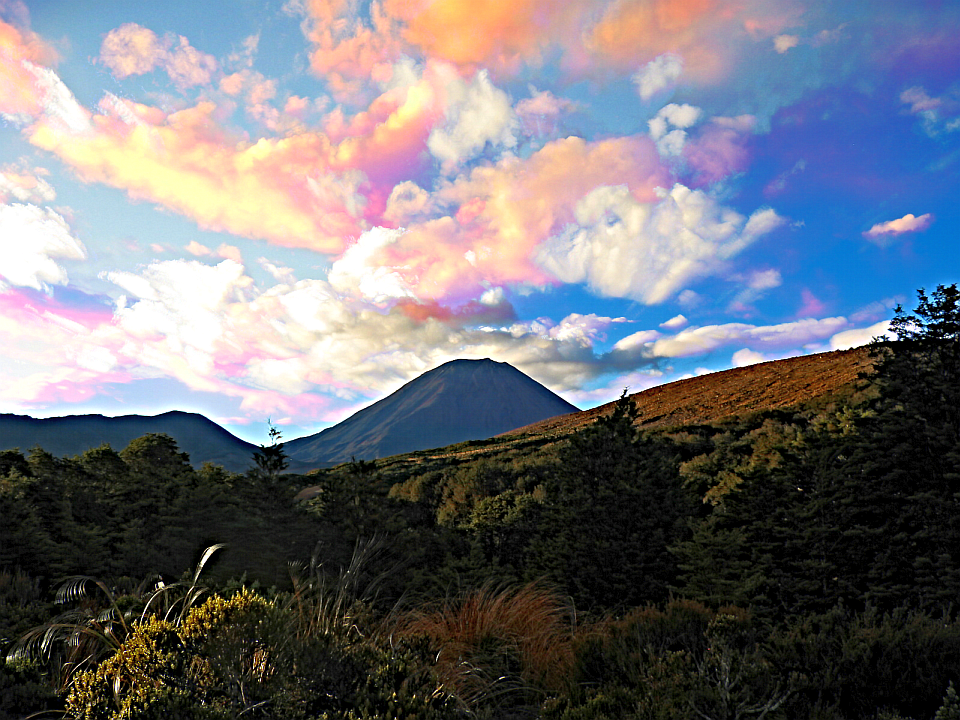
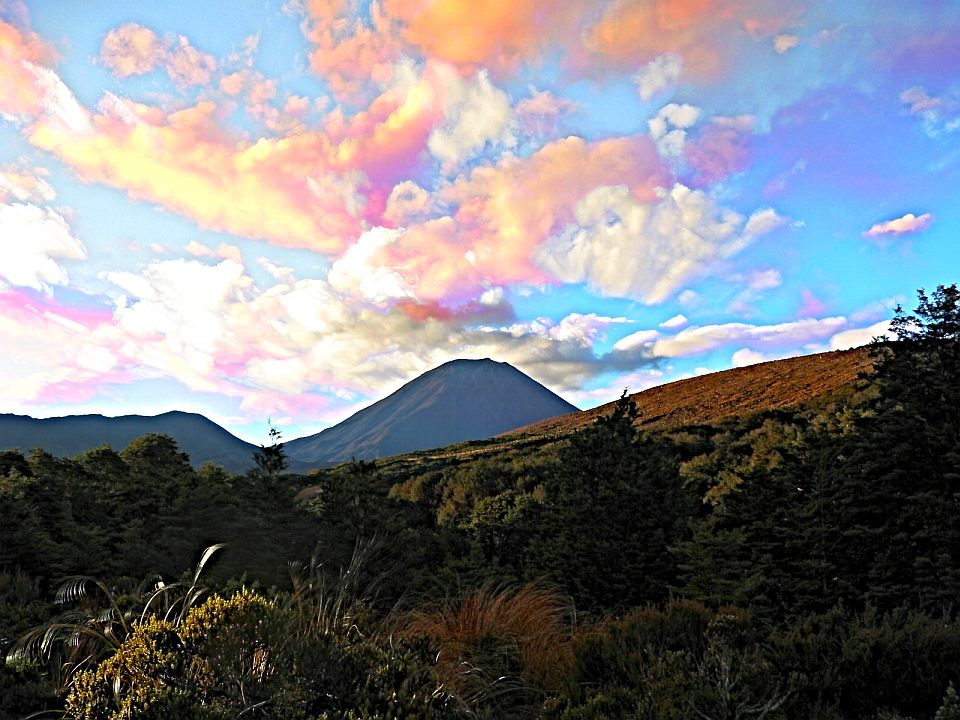
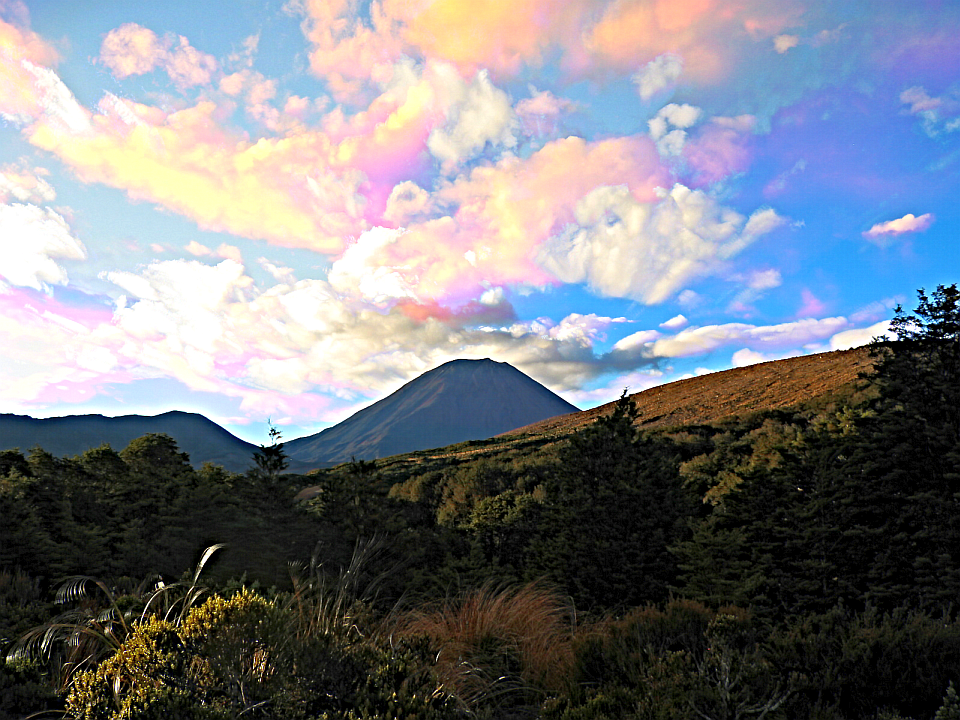
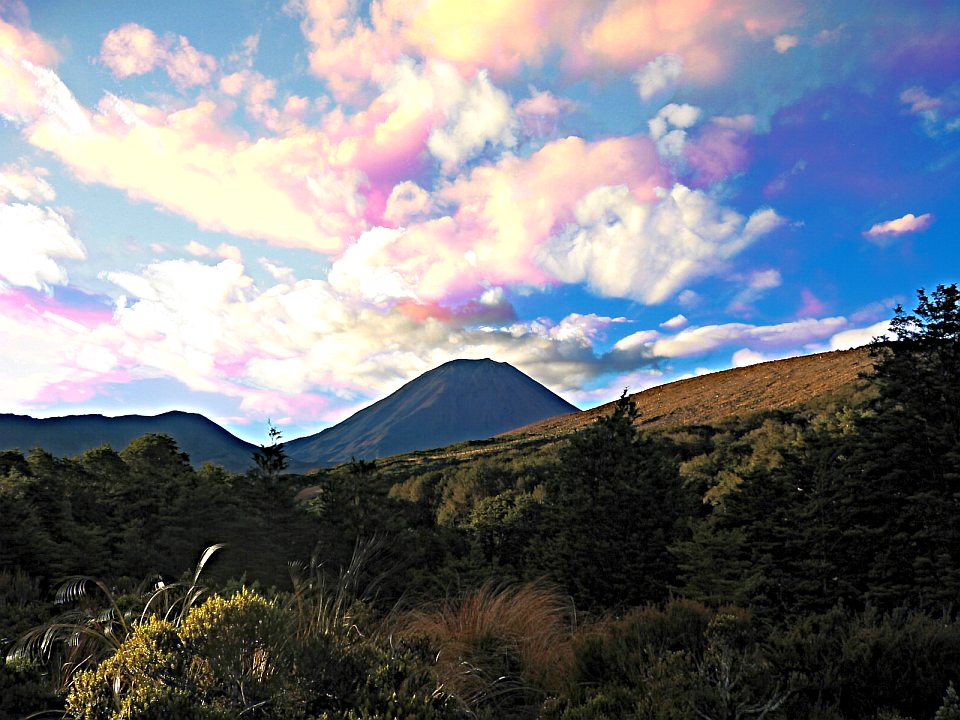
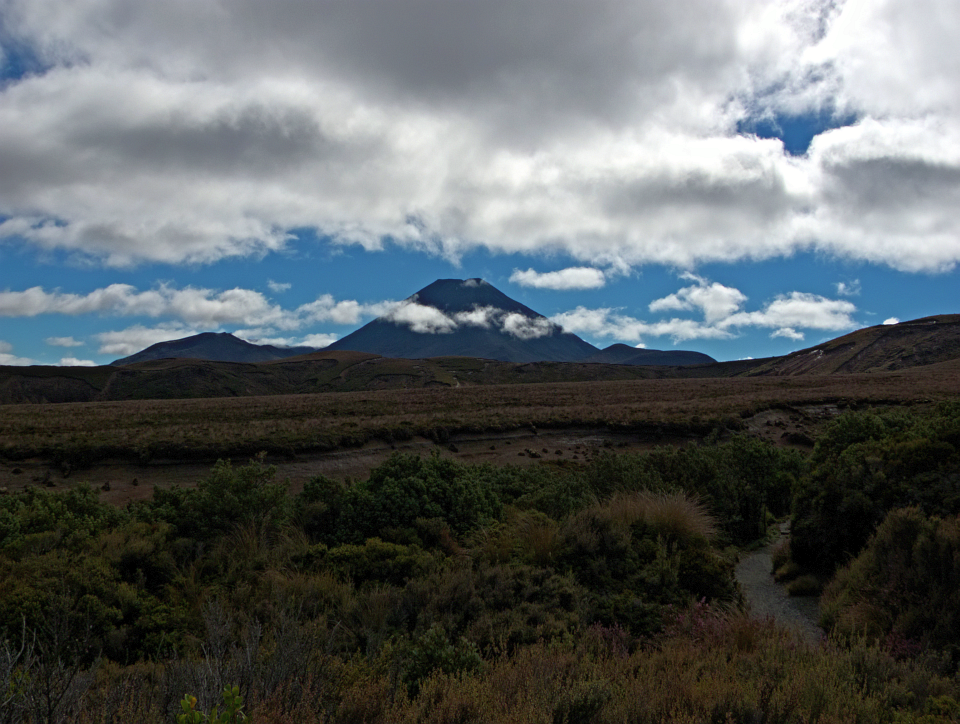
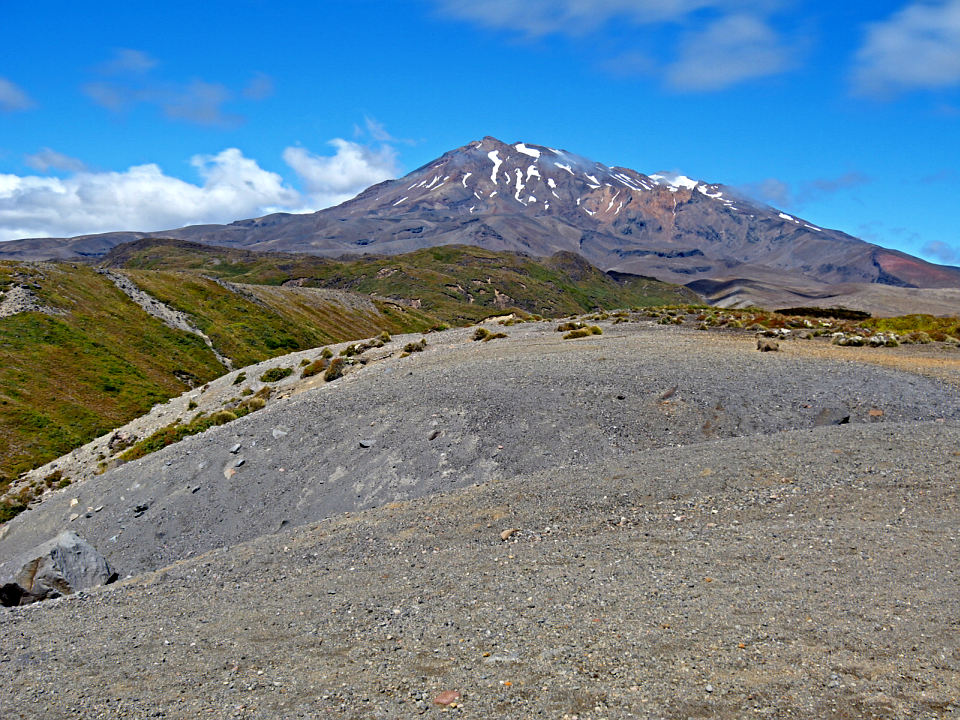
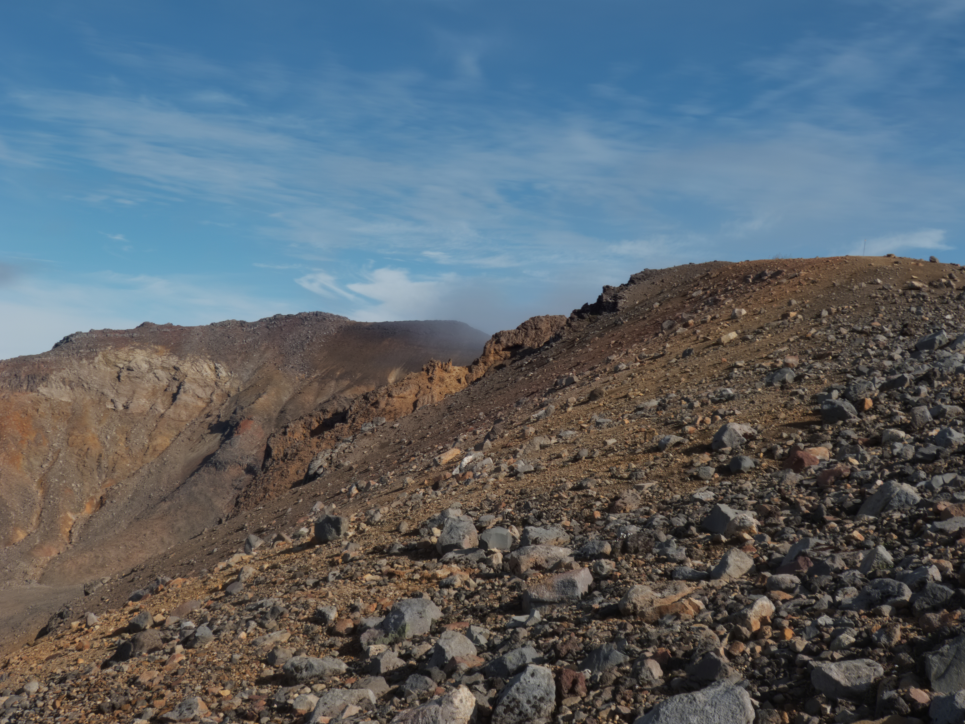
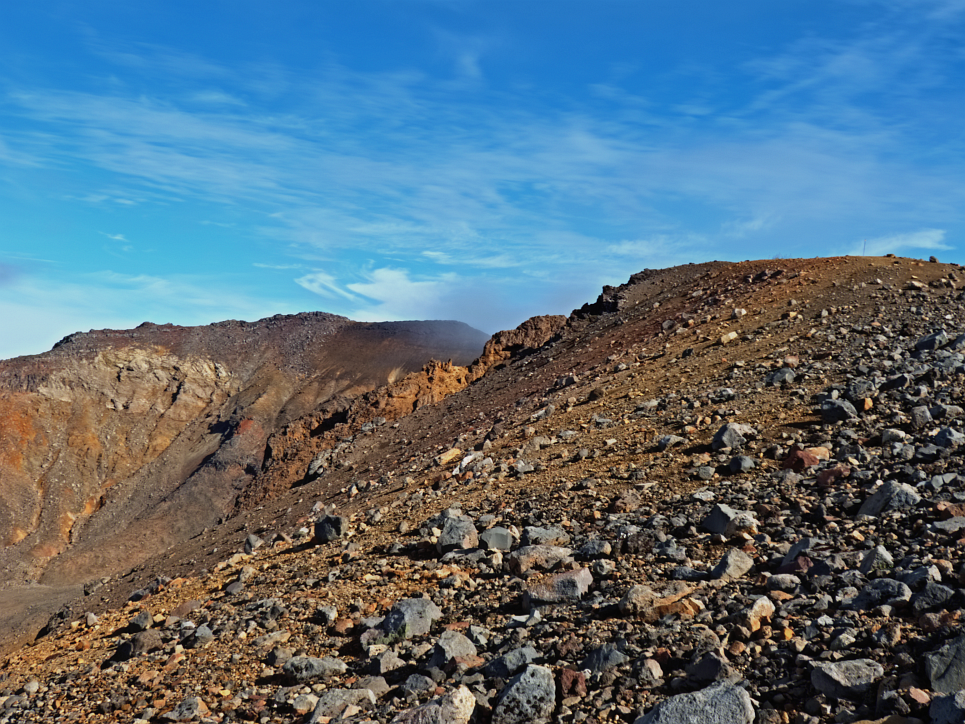
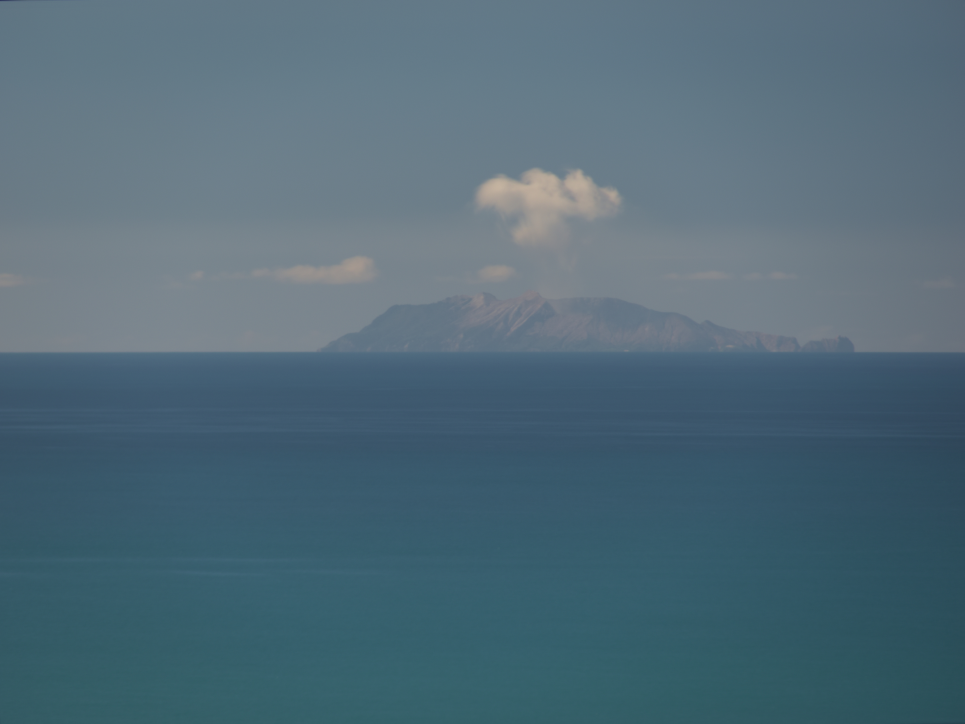
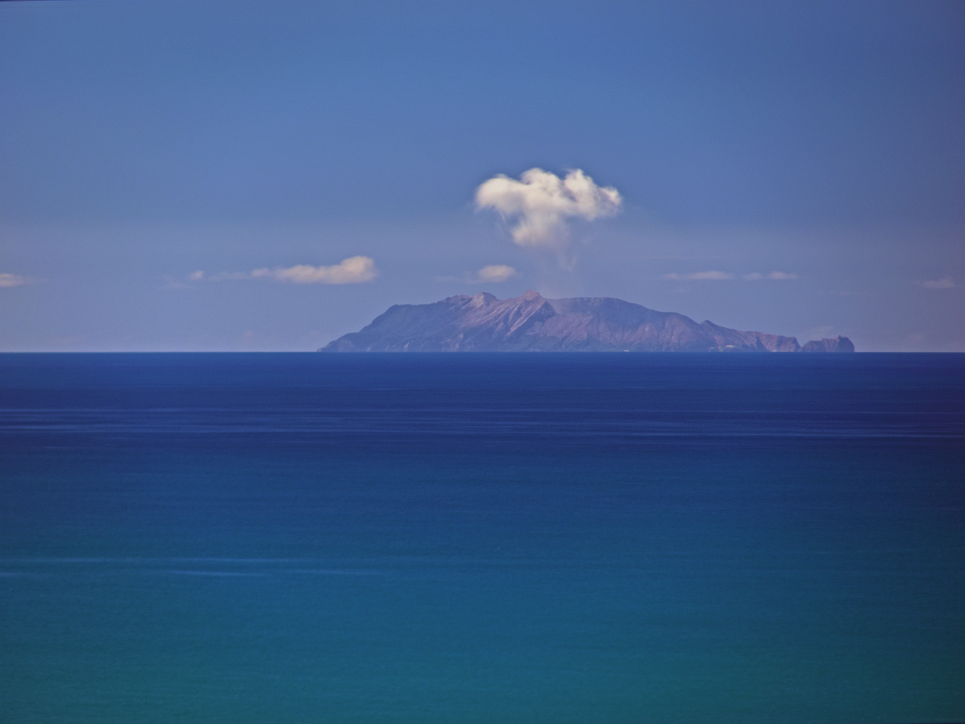
Kevin Buettner describes in his blog a method for colour intensifying and sharpening an image in GIMP by copying the original layer twice and changing the layer modes to grain-merge (top) and grain-extract (middle), then blurring the middle layer with a radius (actually sigma) of a couple of percent of the shortest dimension. This results in what first appeared to be a sort of poor man’s Advanced Tone Mapping (ATM), complete with ATM haloes. Actually the result is much more contrastive than ATM, as Fig. 1-3 show. The original is a composite by “lighten only” (star trailing in the daylight) of 26 sunset shots of Ngauruhoe taken at Waihohonu on February 22, 2015, as described here.
 |
 |
 |
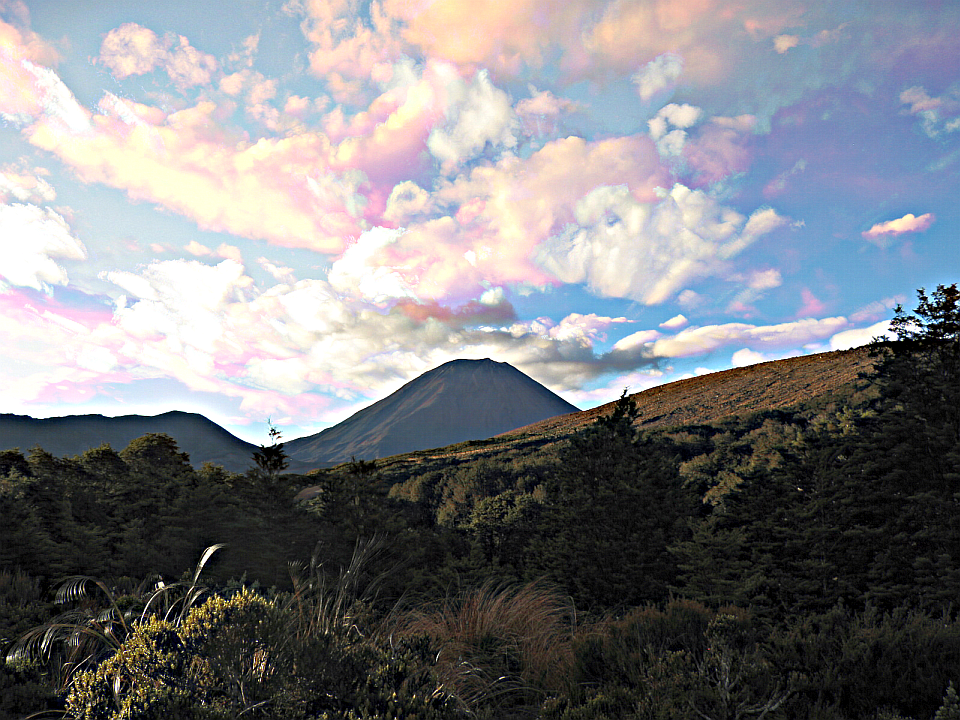
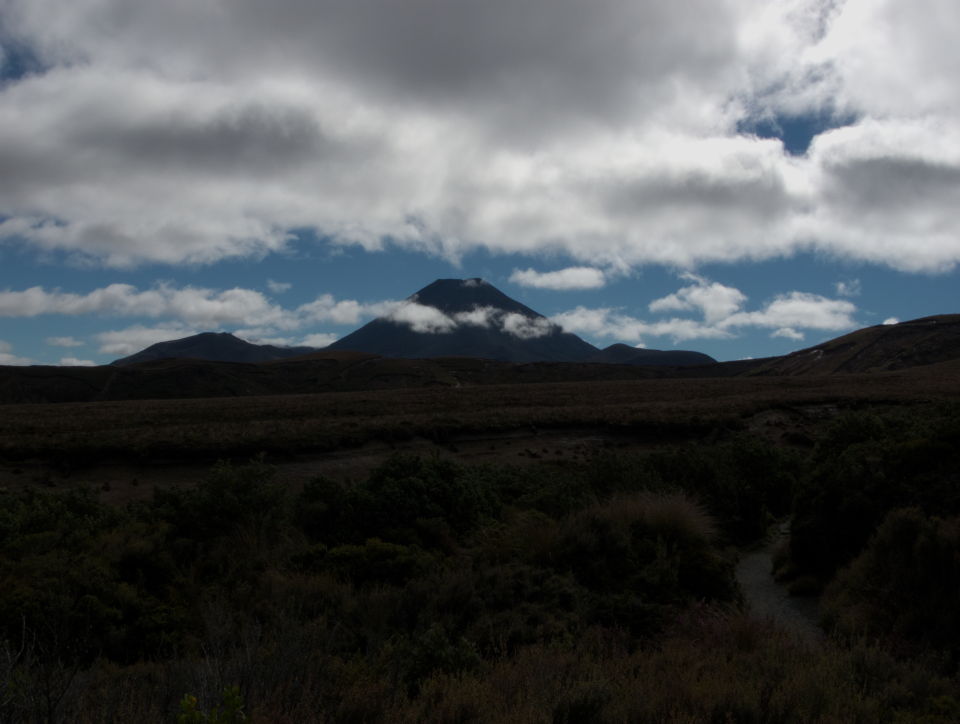
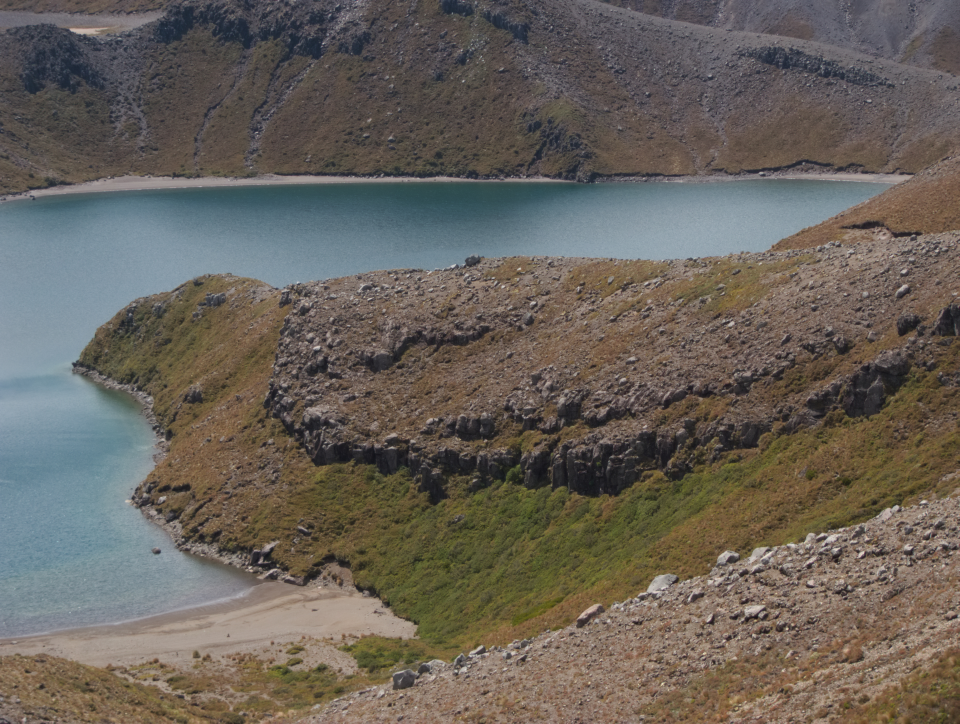
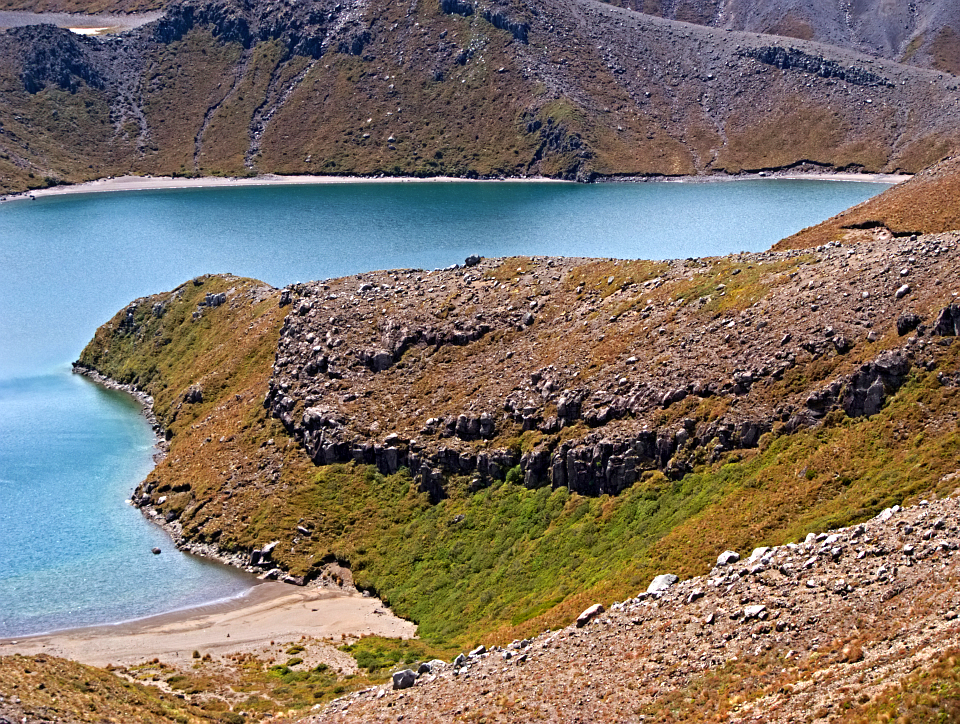
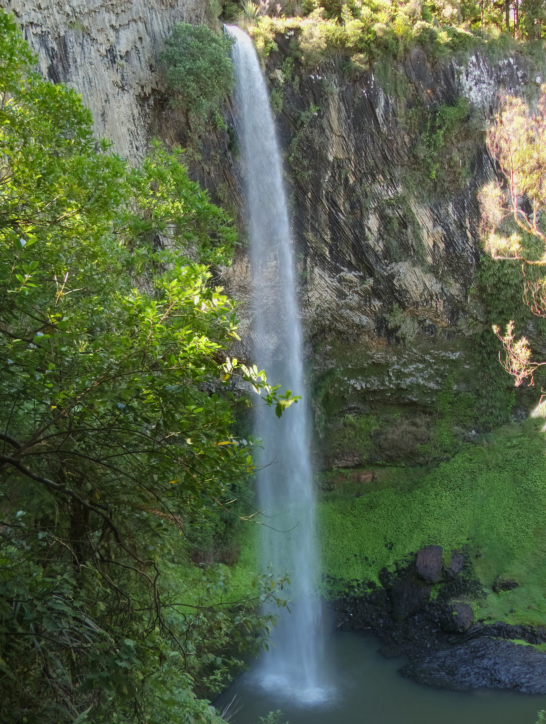
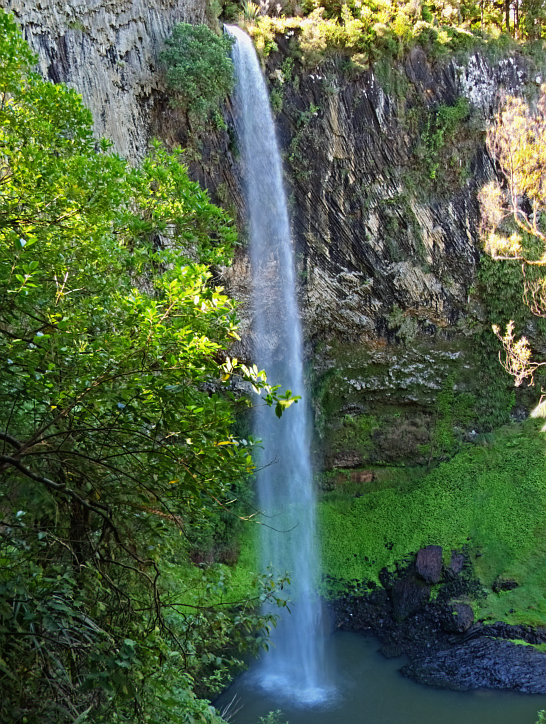
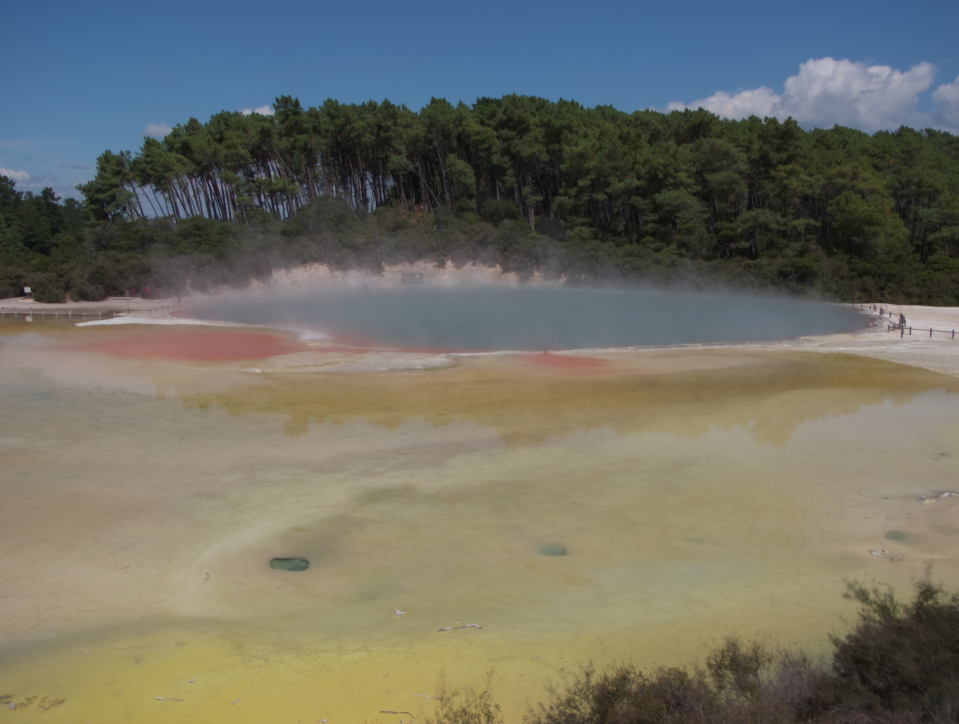
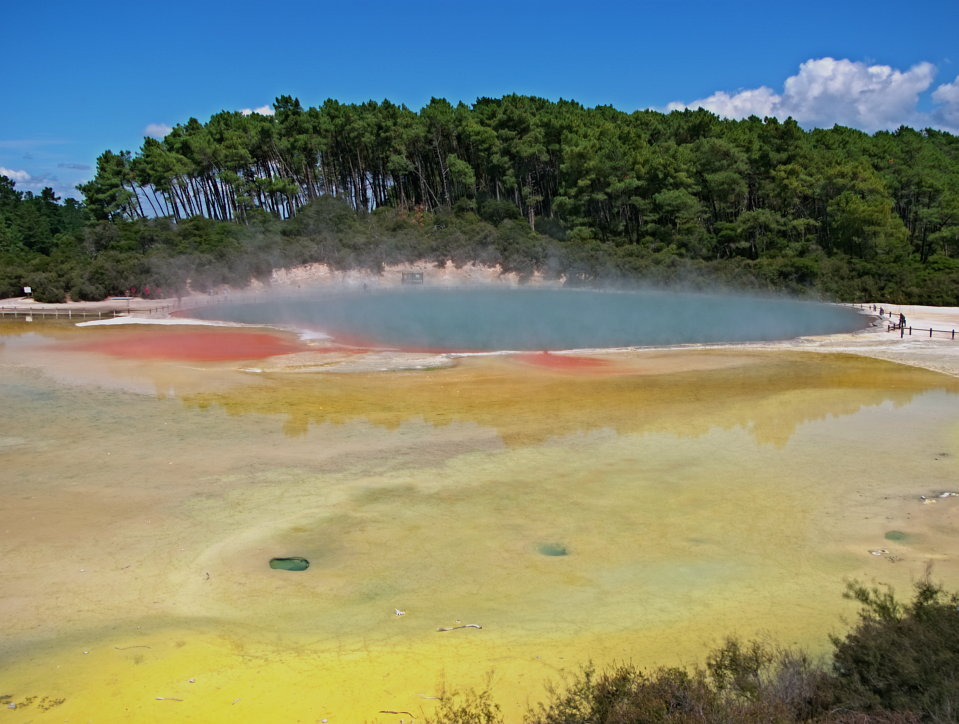
My interest was piqued, but I could immediately see that there would be a special effect if the middle layer were desaturated as well. Also contrast-stretching of all channels separately would be performed to begin with as well as some denoising on the uppermost image, although this step is very hard to control. Imagick’s enhance does a better job than despeckle (Imagick or GIMP). Up until now the photos were universally treated with another, more time-consuming method called simply “photoenhance”, and the result of that method is shown in Fig. 4 as a comparison. Fig. 5 & 6 are what I am now going to call CSI (Contrast-Saturation-Intensifier) by GIMP and Imagick respectively.
 |
 |
 |
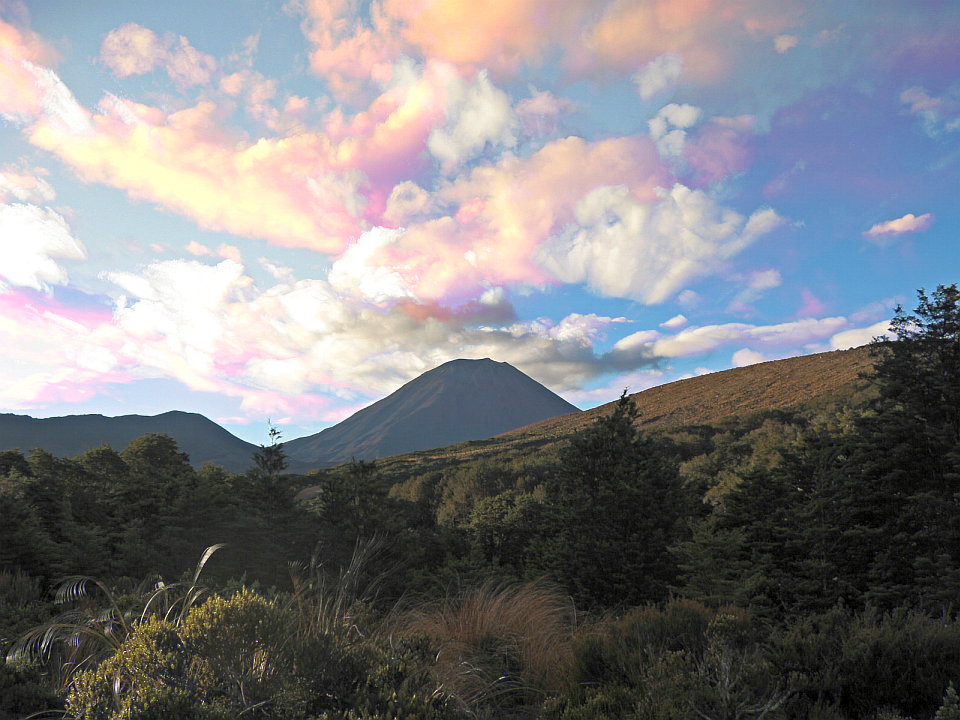
Whoa! Whip out dose shades man! A little moderation seemed to be in order, so setting the opacity of the CSIed layer to between 25-50% seems to be enough for most pictures (Fig. 7-9).
|
 |
 |
It did not escape my attention that different methods for desaturating the main image would have different effects on the final product. There are smaller differences between the result obtained above, which seems to rely for both GIMP and Imagick on lightness, and using luminosity or brightness instead (Fig. 10). Of course, each individual colour channel could be used as a greyscale, and the use of any particular channel specifically enhances that colour in the end product (Fig. 11-13).
On closer inspection of the red and blue channel images in comparison to the lightness and luminosity (brightness) channel images (especially the centre-top and left-middle areas) reveals that luminosity must be treated as an equally weighted channel average, and lightness as a green-dominated weighted average of the colour channels.
Finally, the desaturated images could be negated, or other methods applied such as embossing, charcoaling, sketching, edging, oilpainting, or even the statistical methods max, min, mean, mode or median could be applied, so there is enough to play around with.
 |
 |
 |
 |
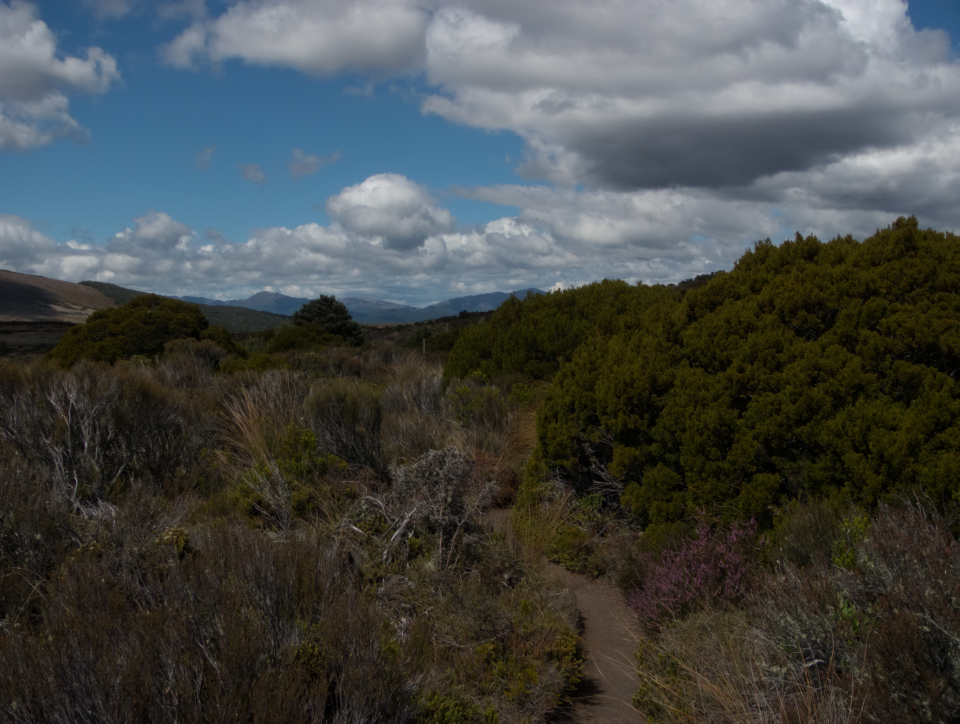
Polishing up the Tongariro Northern Circuit
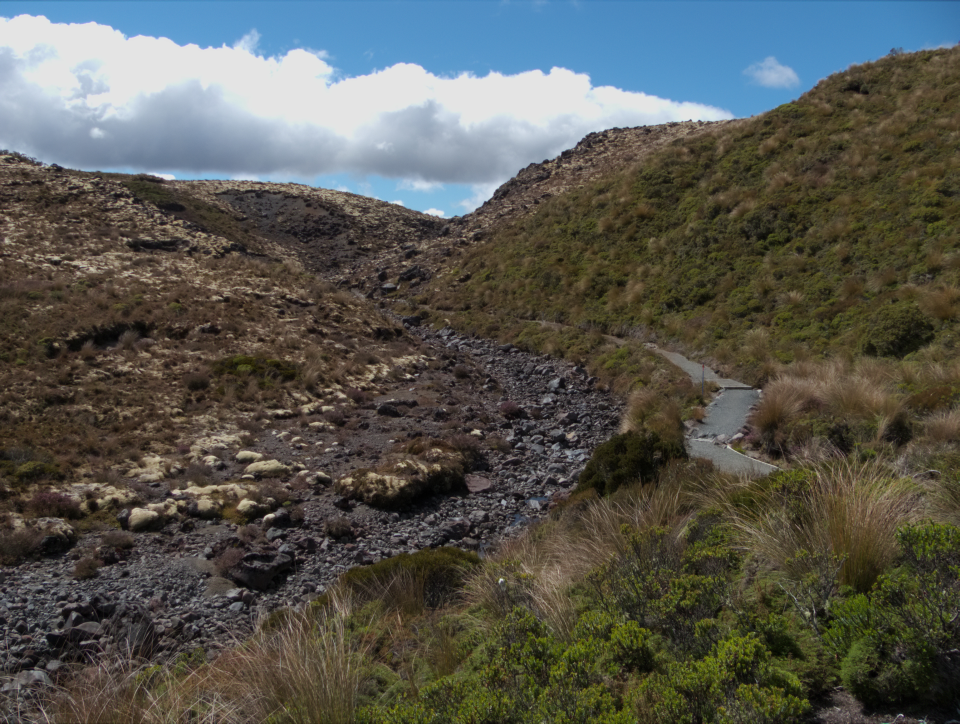


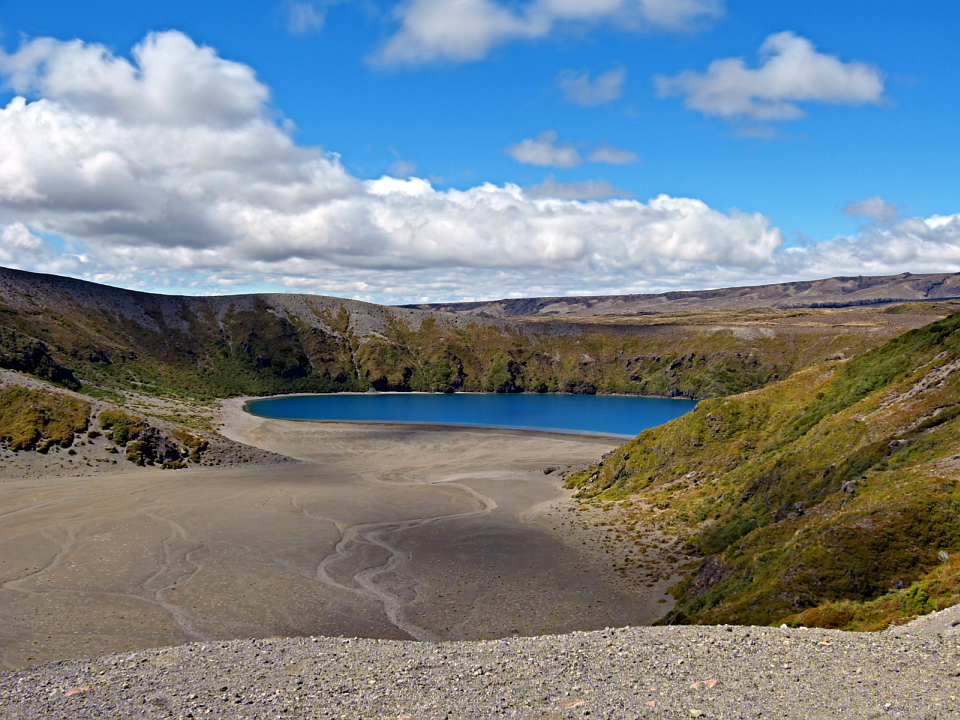
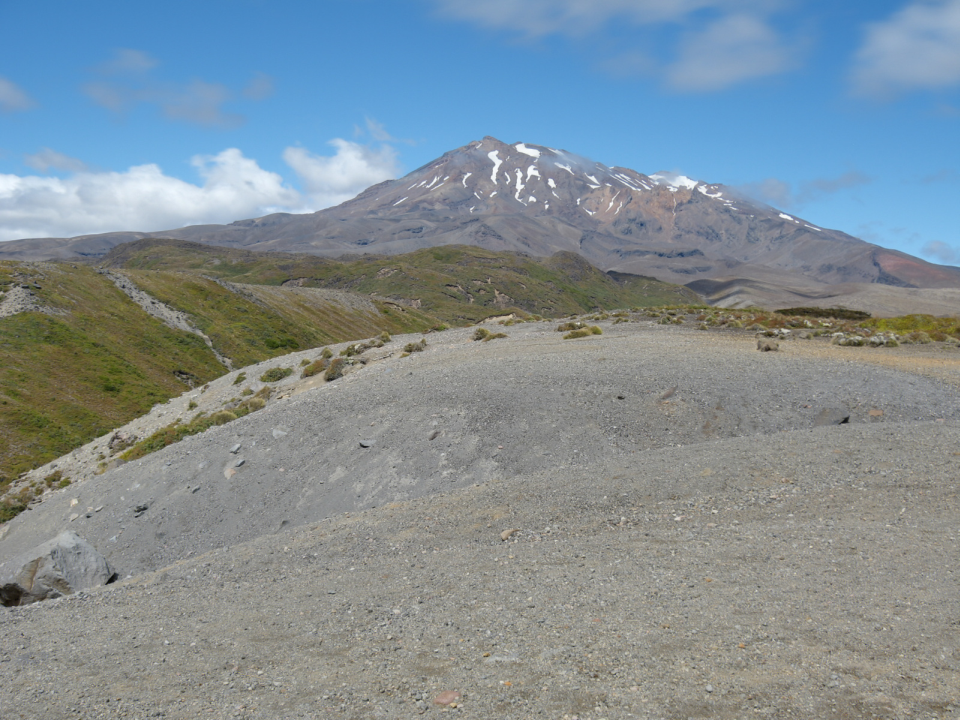
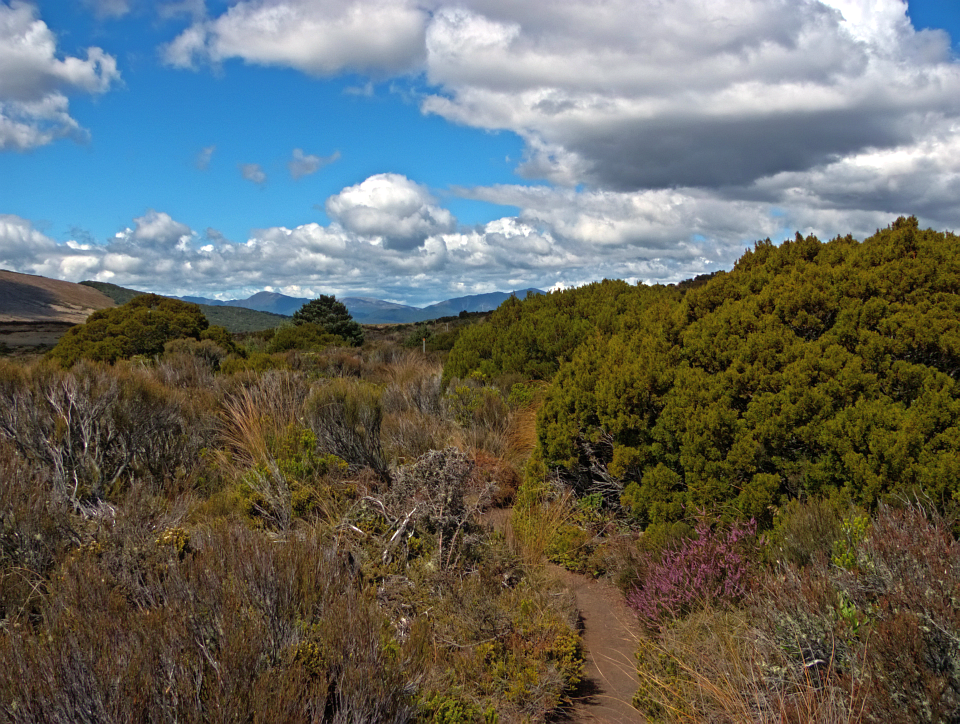
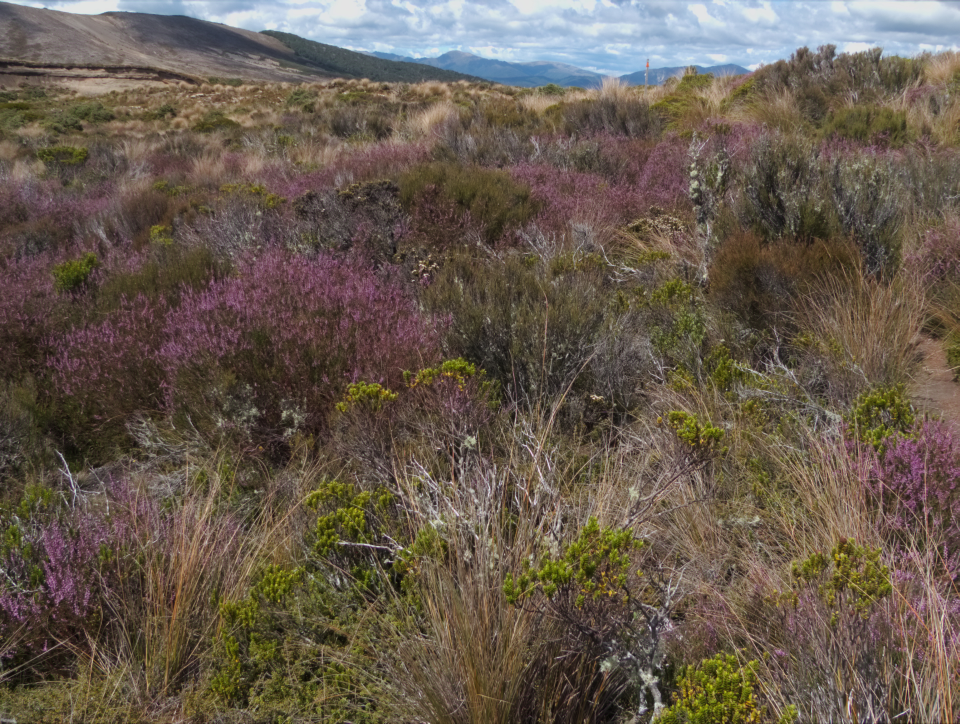

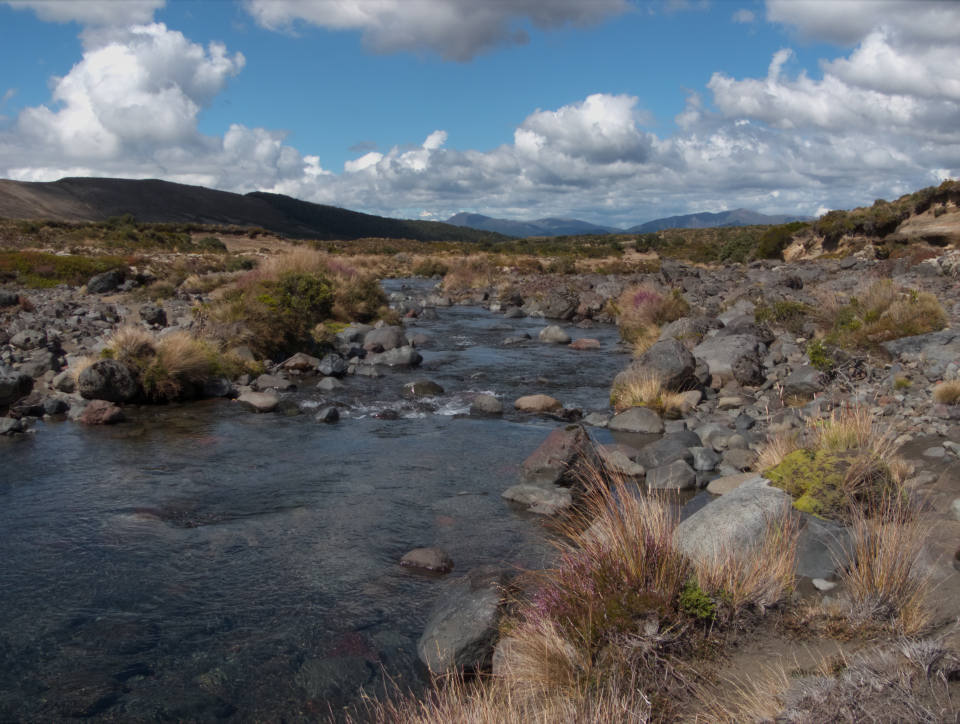
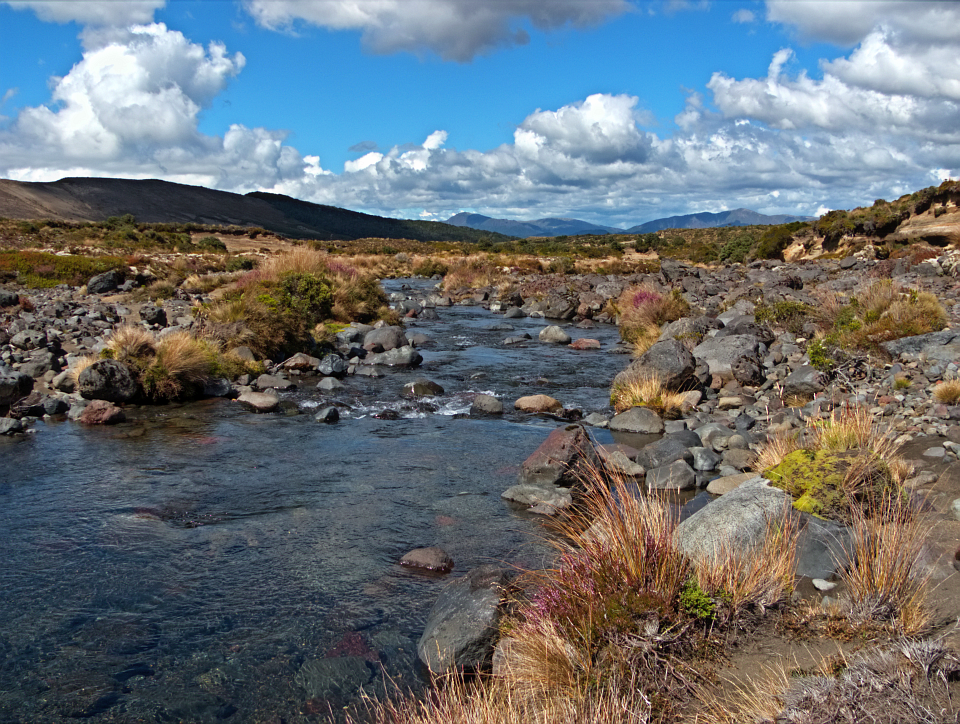
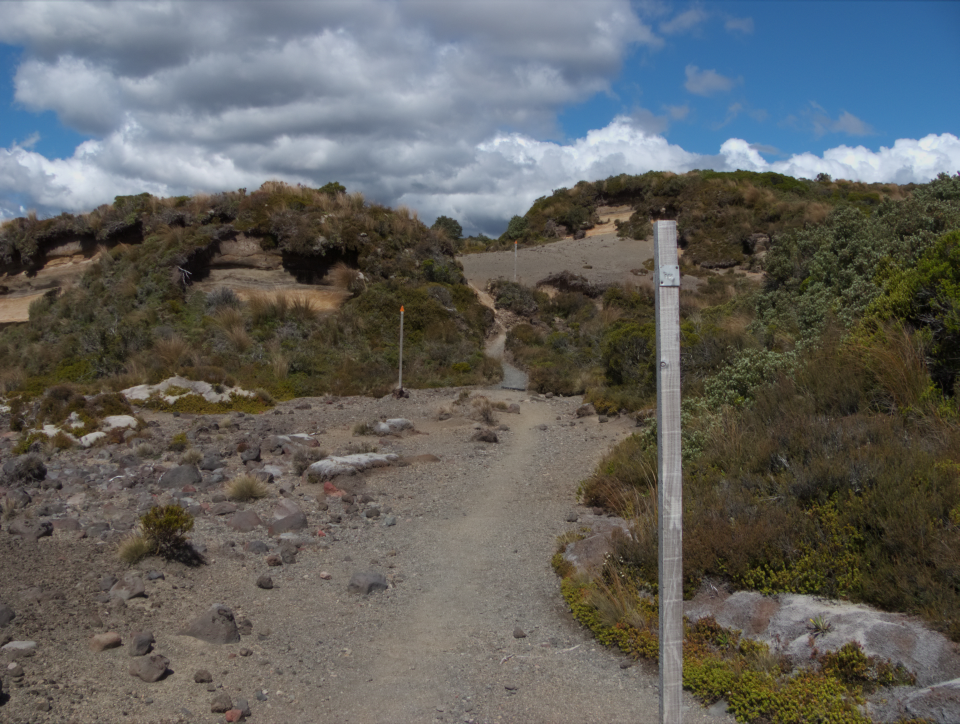
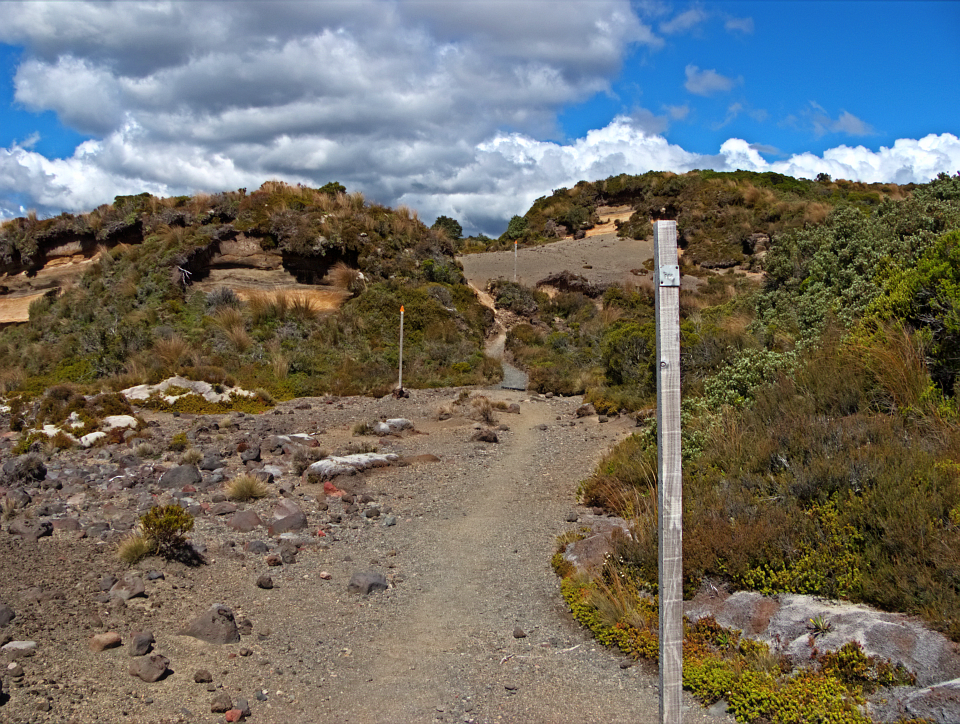
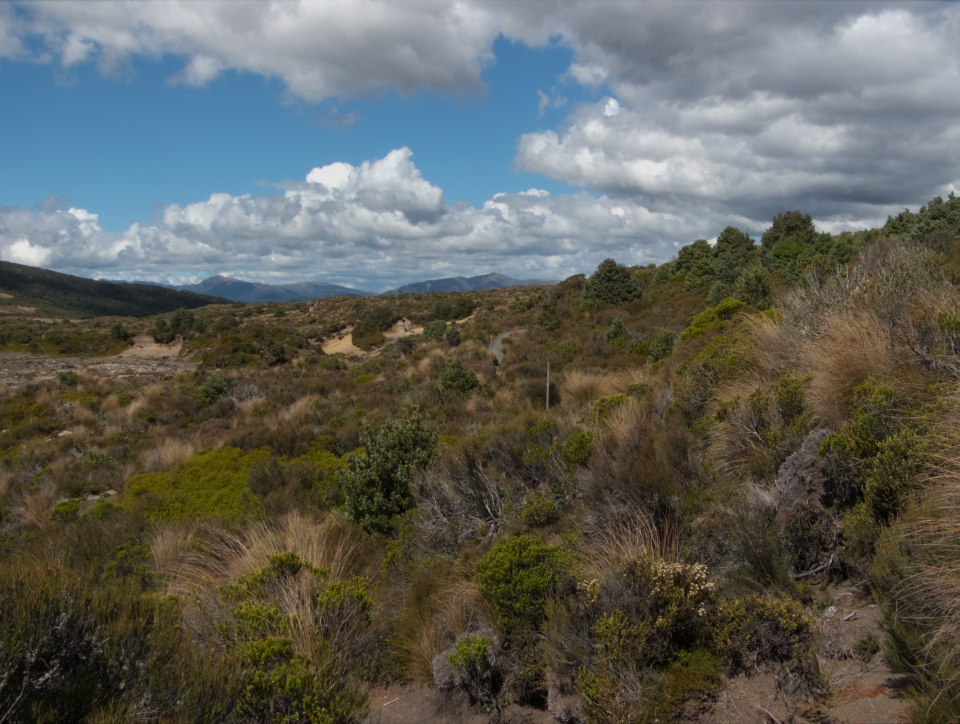
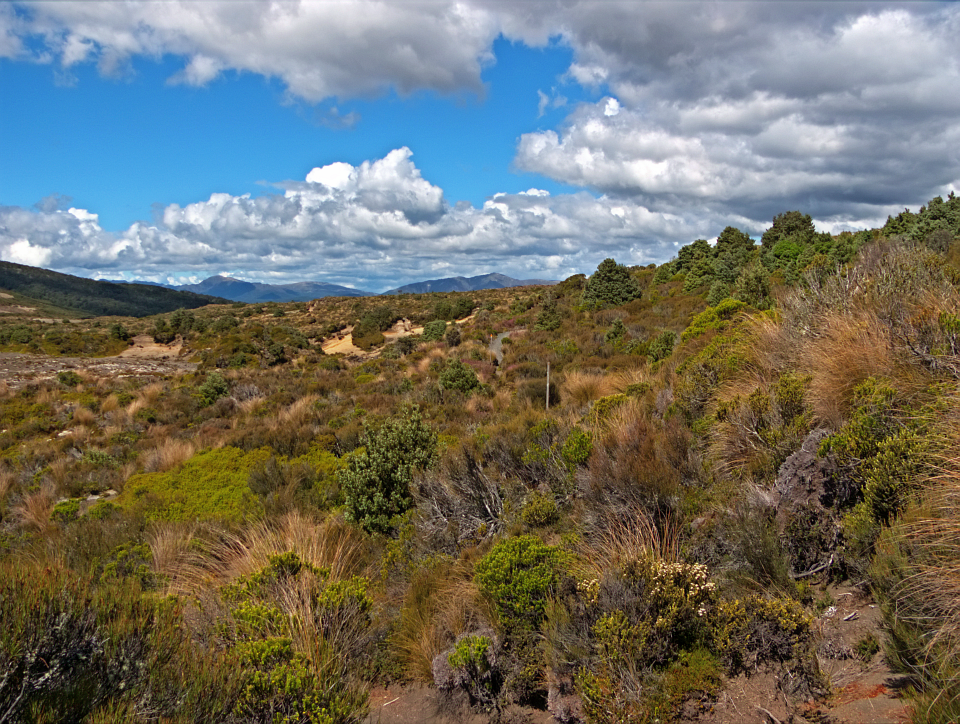
Polishing up Exposure Brackets
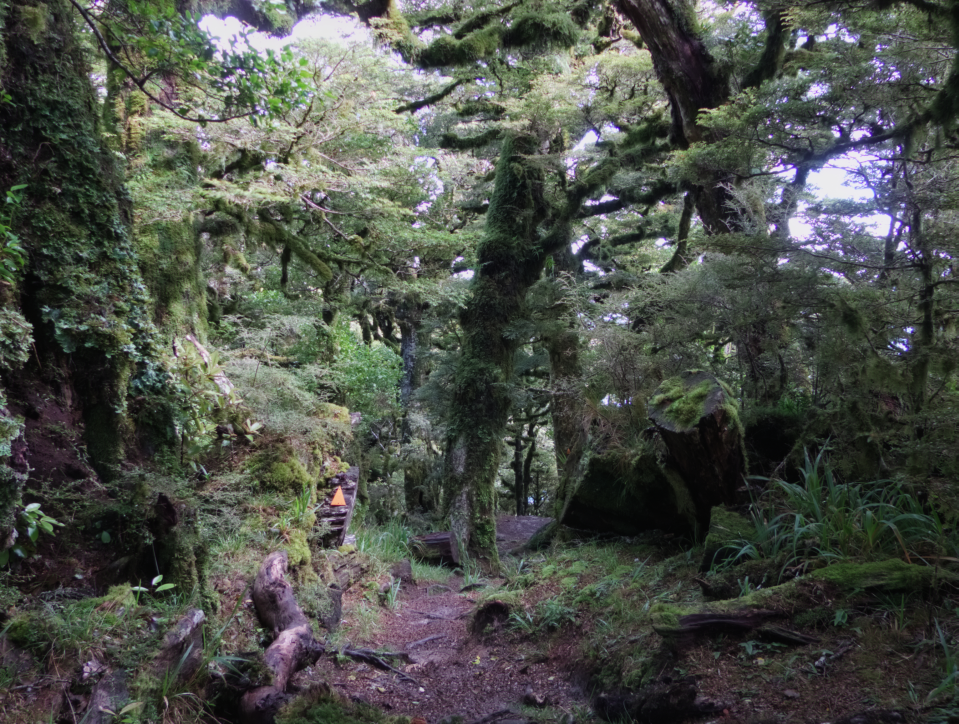
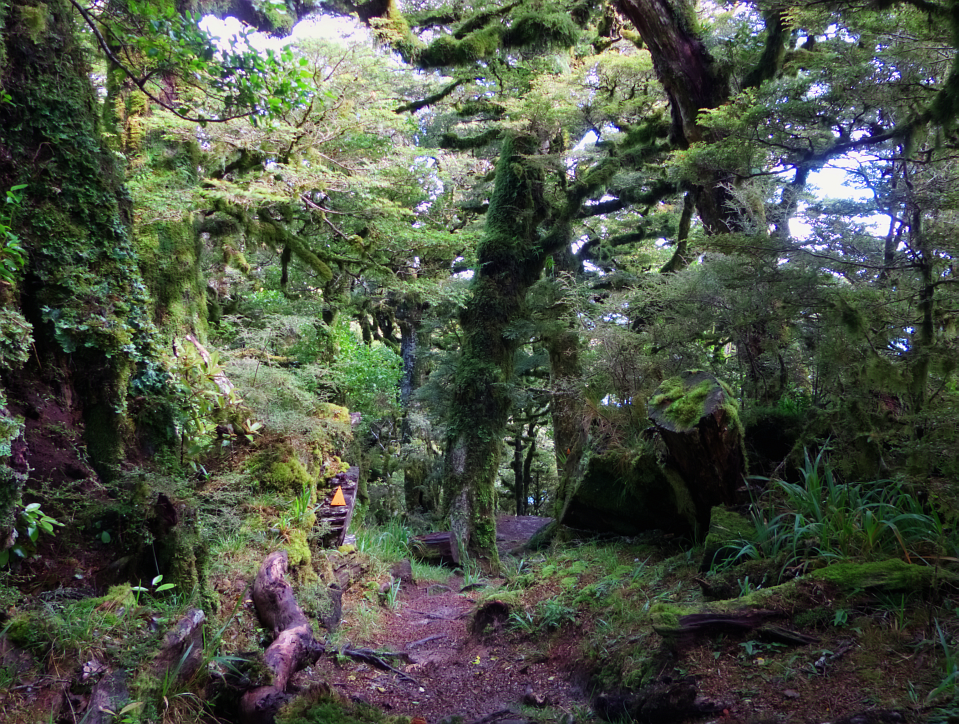
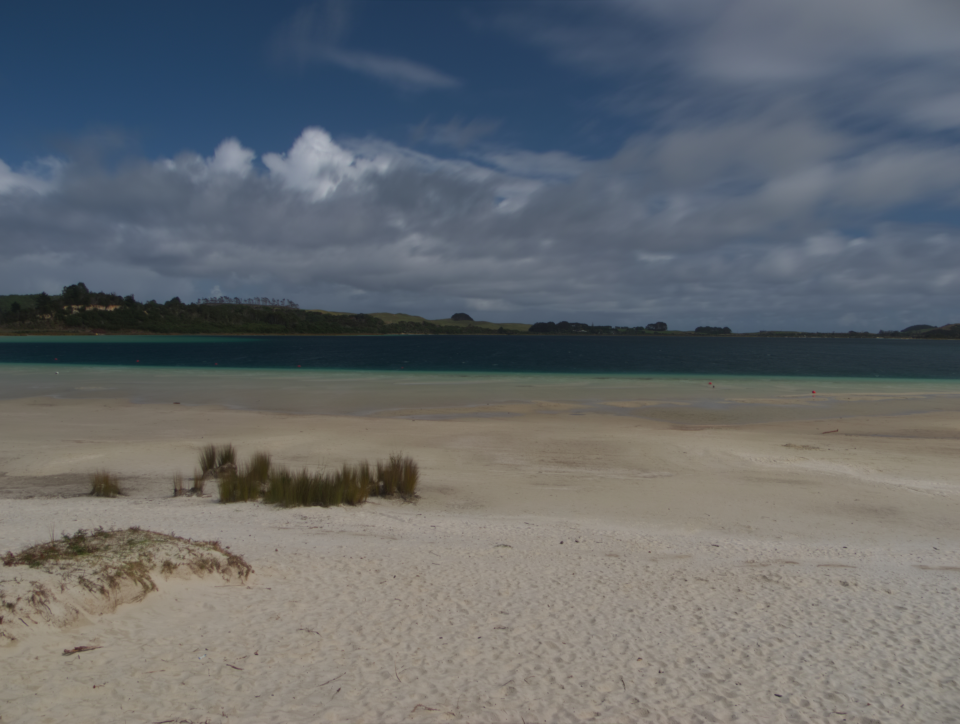
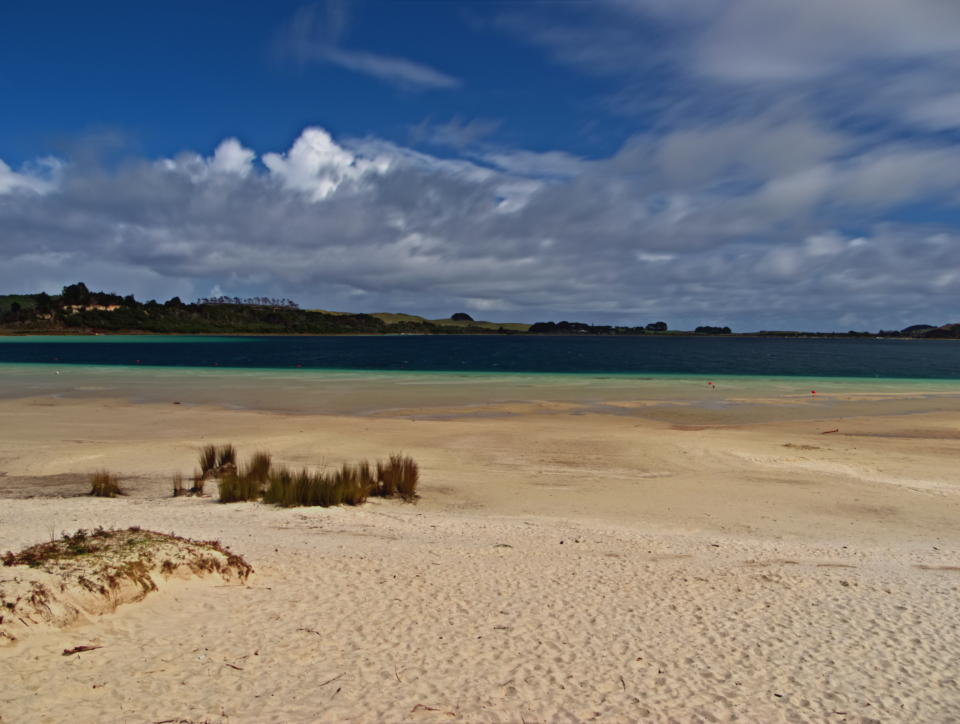
Exposure Brackets are particularly prone to both weak contrast and saturation, especially when the pixels are selected for by exposure the whole image is perfectly exposed giving a greyish image with very little depth. Here CSI can recover some of the lost contrast and resaturate the colours, although to be sure, no single shot would be able to achieve a similar result on its own.
Scripts
Scripts for both GIMP and Imagick can be downloaded: Contrast-Saturation Intensifier (922 downloads ) .