
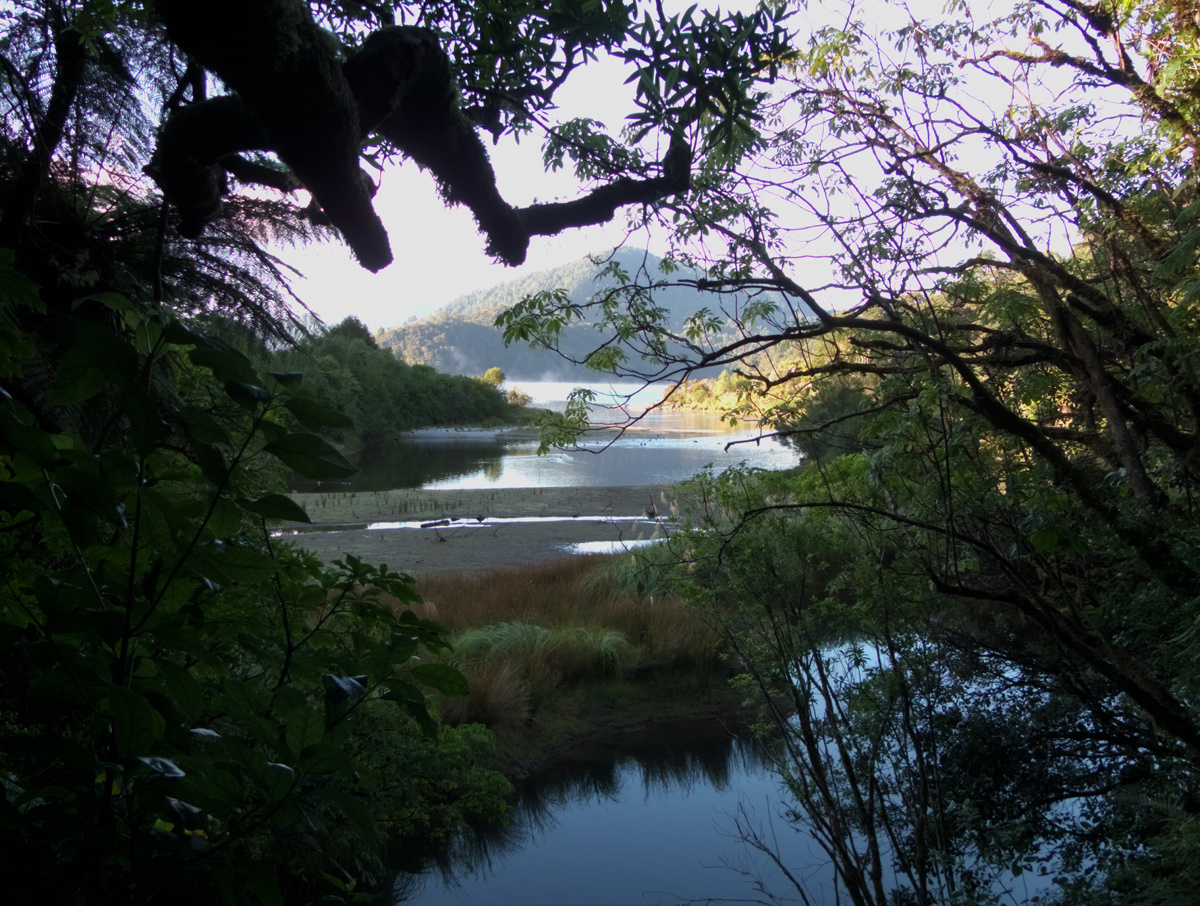
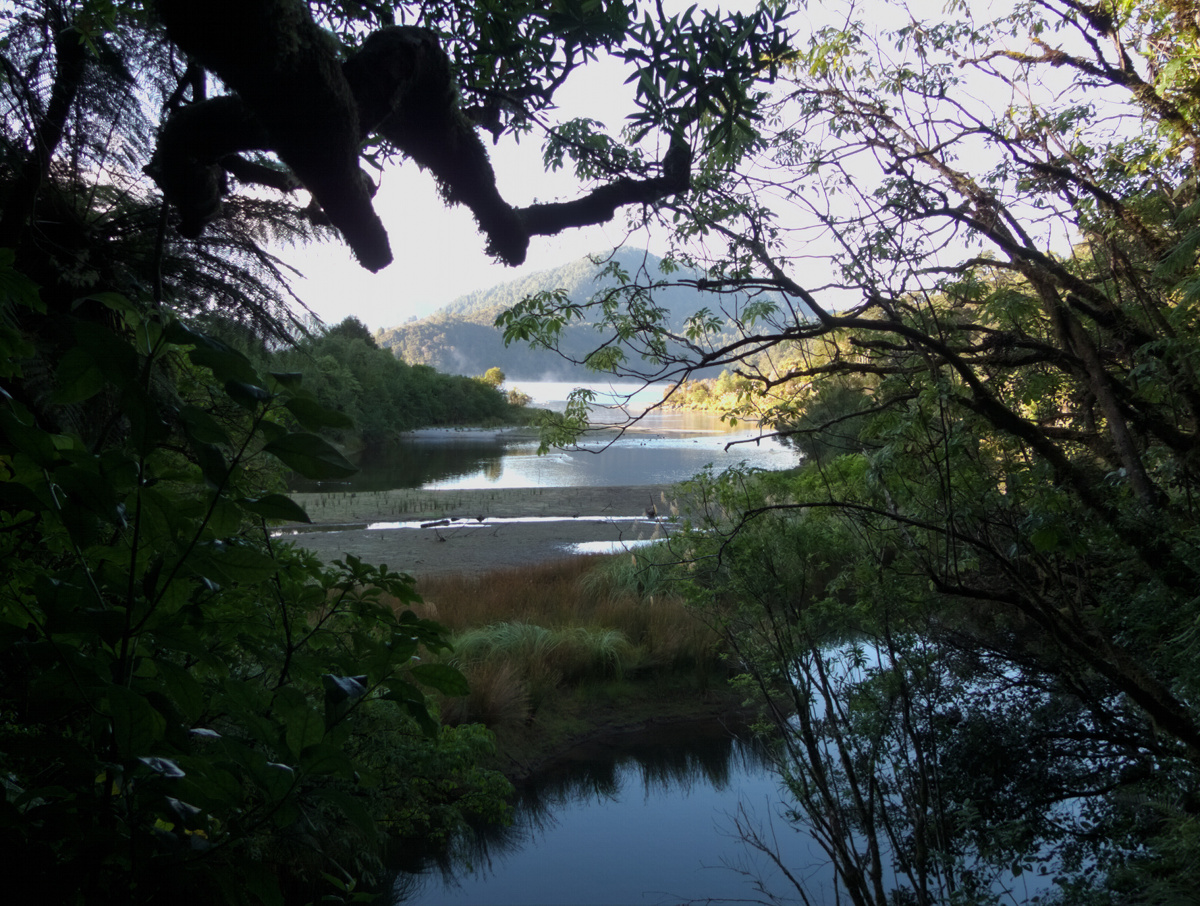
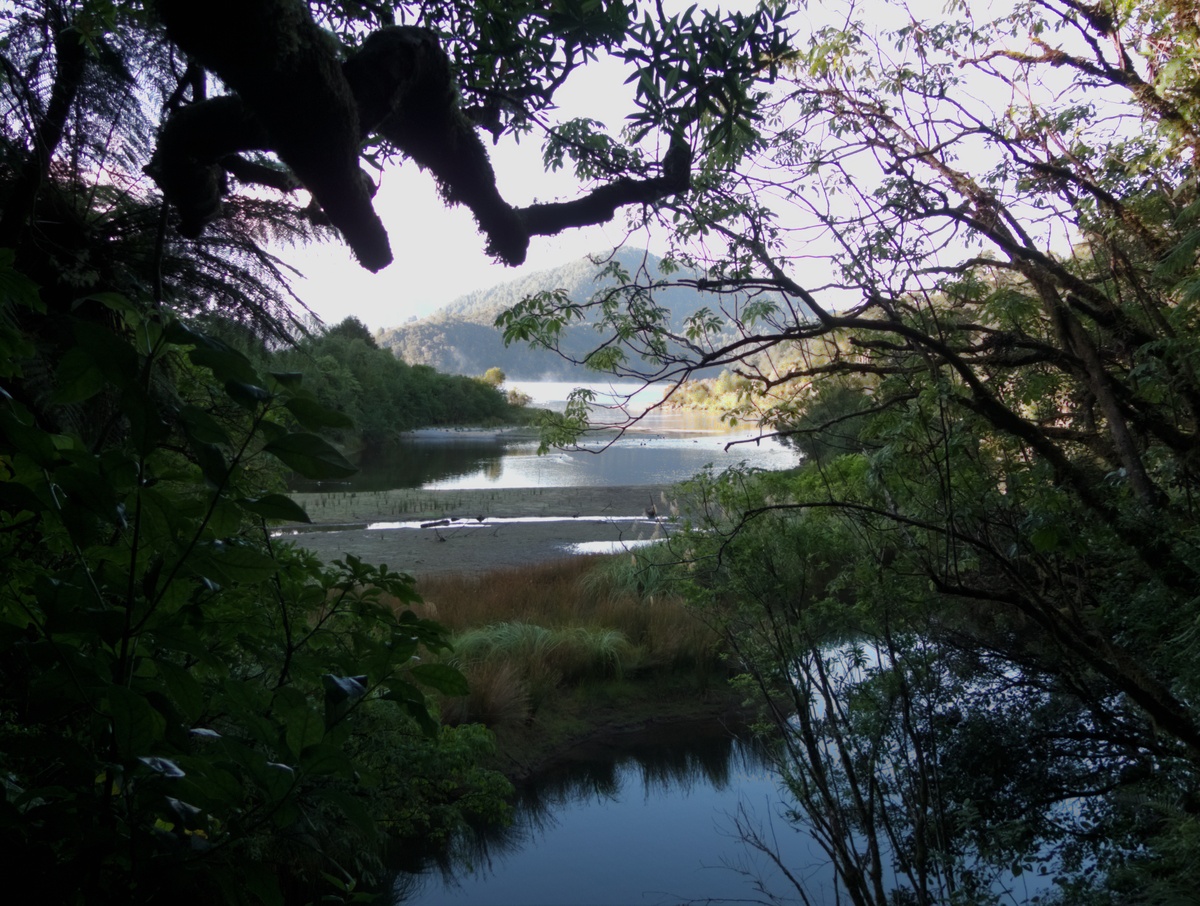
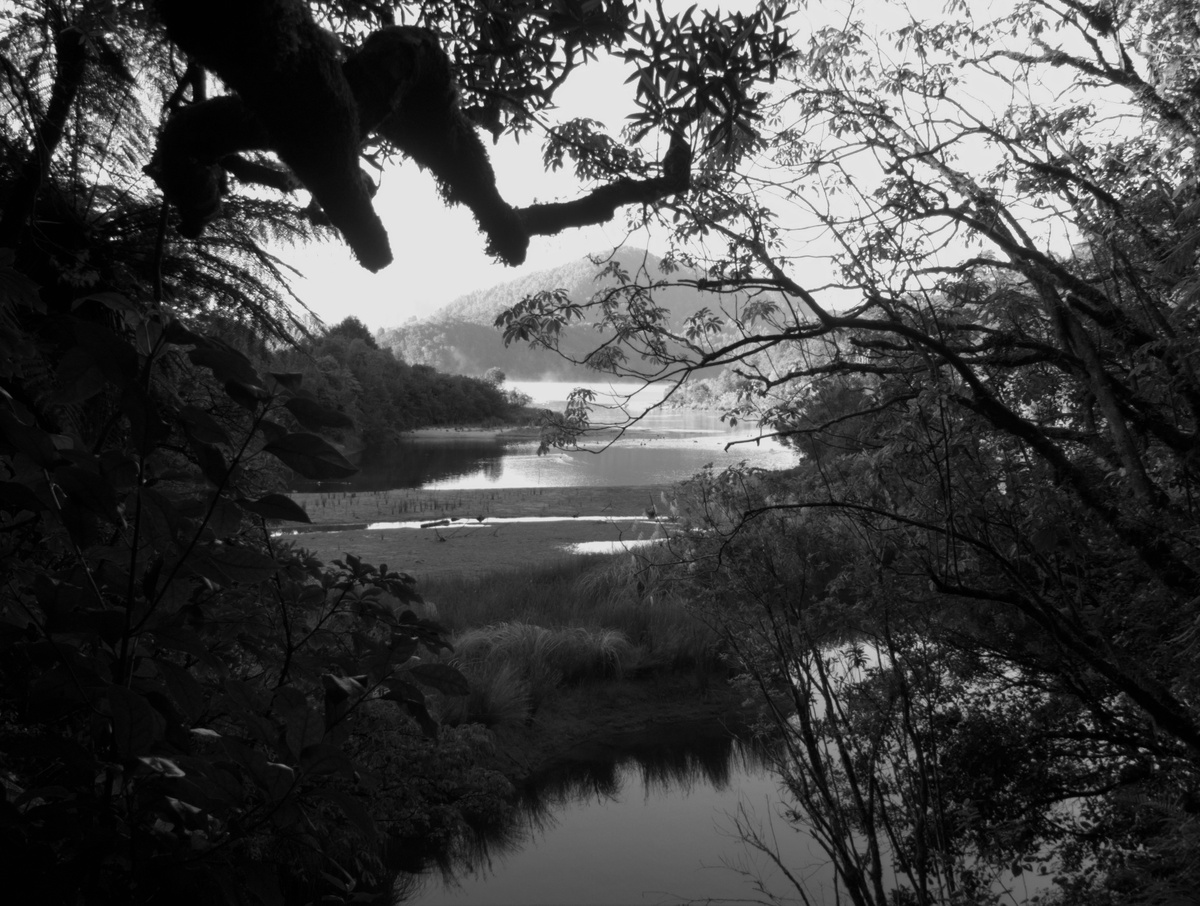
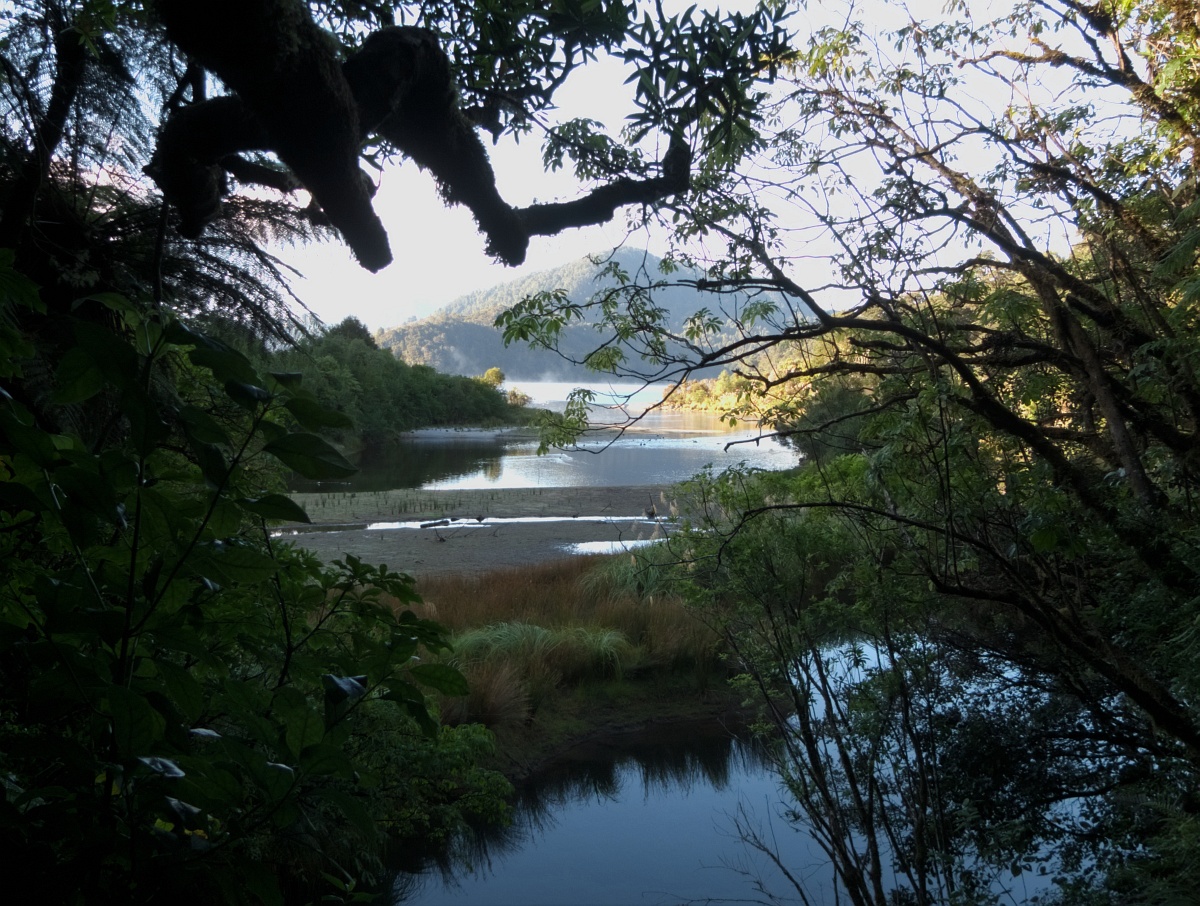
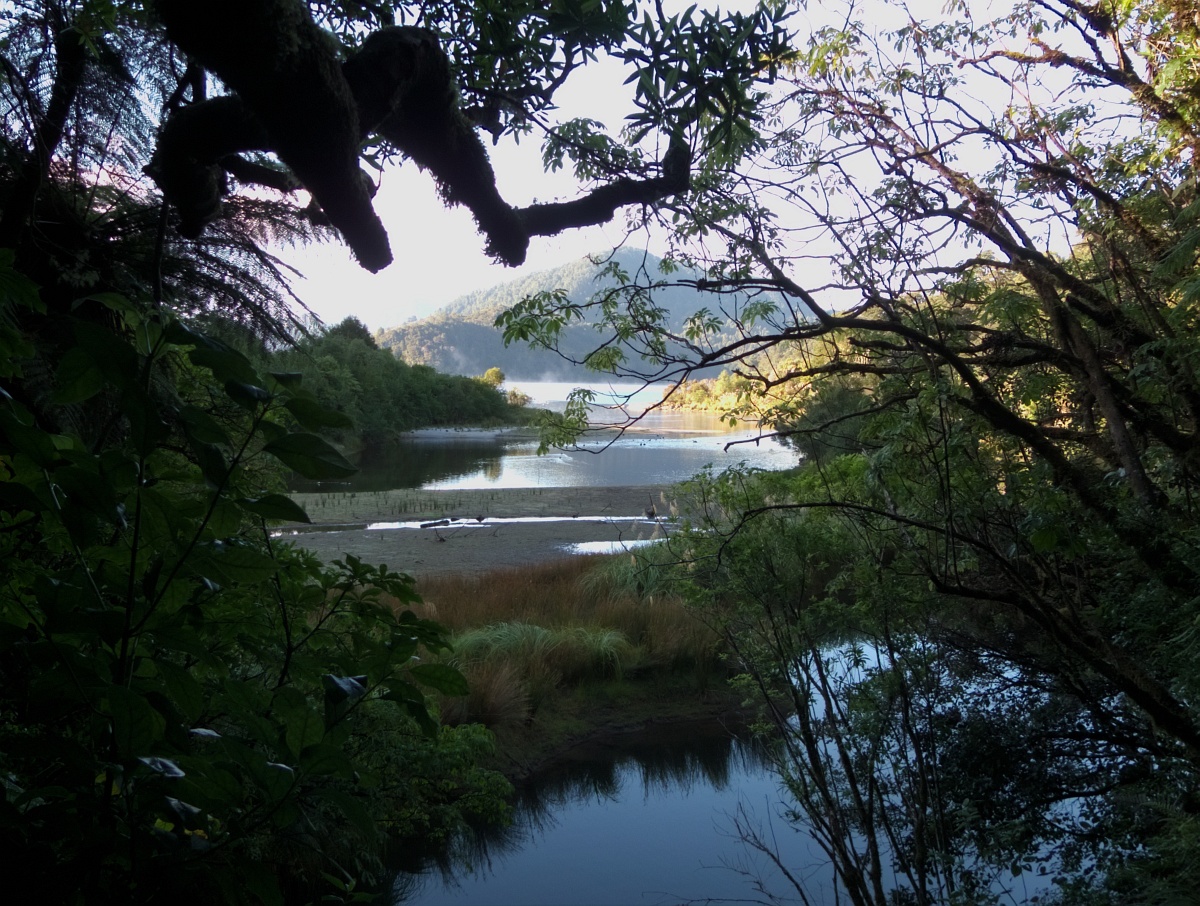
A problem that arises in high contrast photography is purple fringing due to short wavelength light being refracted around a dark/bright transition. This is different from chromatic aberration of the lens which results in green/purple fringing at such transitions. The latter can be largely removed by resizing the red and blue channels. The classical fix for pure purple fringing has been to use Darla’s Purple Fringe script for the GIMP, but the results are rather modest and require fiddling with afterwards, as shown in these two images:
 |
 |
I also wanted to port the effect to ImageMagick for ease in automating the process, so by understanding what Darla’s Purple Fringe was doing, I have tried to come up with an improvement. Darla has the disadvantage of “robbing” the edges, i.e. brightening them, leading to loss of detail.
Methods
Finding edges and decolouring them was not the problem. The GIMP has a neat tool for decolouring not just red, green or blue channels, but also the admixtures cyan, yellow and magenta, although the method by which it achieves this is a little esoteric. This proved to be impossible to replicate exactly in ImageMagick, although on further consideration this should not have been worth the bother, because all that is really needed is to replace the areas of purple fringes with a more or less completely greyscale image.
The green channel of the image (here as a proxy for the negative of the magenta channel) can be separated from the rest and multiplied by an edged image to give a mask which represents the purple fringes, and these can be replaced by a greyscale image. However, the effect is modest at best, and limited only to the immediate edges, and this cannot be remedied by increasing the edge width by blurring. Furthermore the edges are lost by brightening.
 |
 |
Another tactic would be to more closely represent the magenta areas of medium intensity and hope to find their (wider) edges. Now we have to be careful about designing a mask to target those areas where the magenta value is high, but obviously not those areas of brightest colour (which would be greens, yellows, pinks, etc.). This can be done by isolating the green channel and subtracting a greyscale image from it to give a close approximation of the magenta channel negative (Script #2):
 |
 |
Now to find a replacement. The first impulse to use just the greyscale image previously used to eliminate the bright areas of the image by subtracting them from the green channel turns out to be not that bad (Script #3). However, there is a distinct lack of colour in those areas where the mask is fairly densely white (e.g. the upper left corner).
 |
 |
Was there another possibility? Compositing Fig. 5 directly onto the both original red and blue channels using the “difference” operator results in an image which is remarkably free from purple fringing, with most of the other colour still retained – again compare the upper left corner for the blue sky. This is a remarkably simple script (Script #4, Fig. 9). This method darkens the previously purple areas, whereas adding Fig. 5 to the green channel washes them out (Fig. 10).
 |
 |
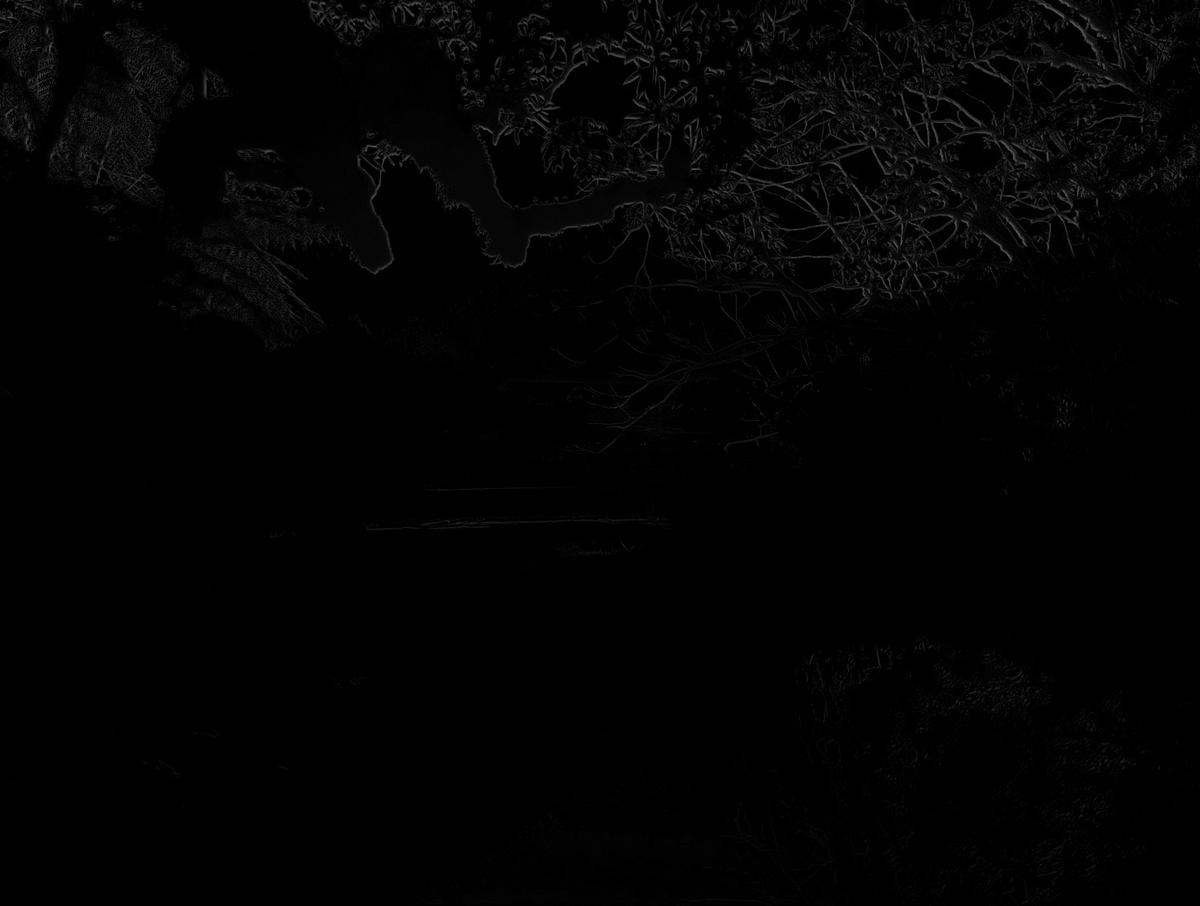
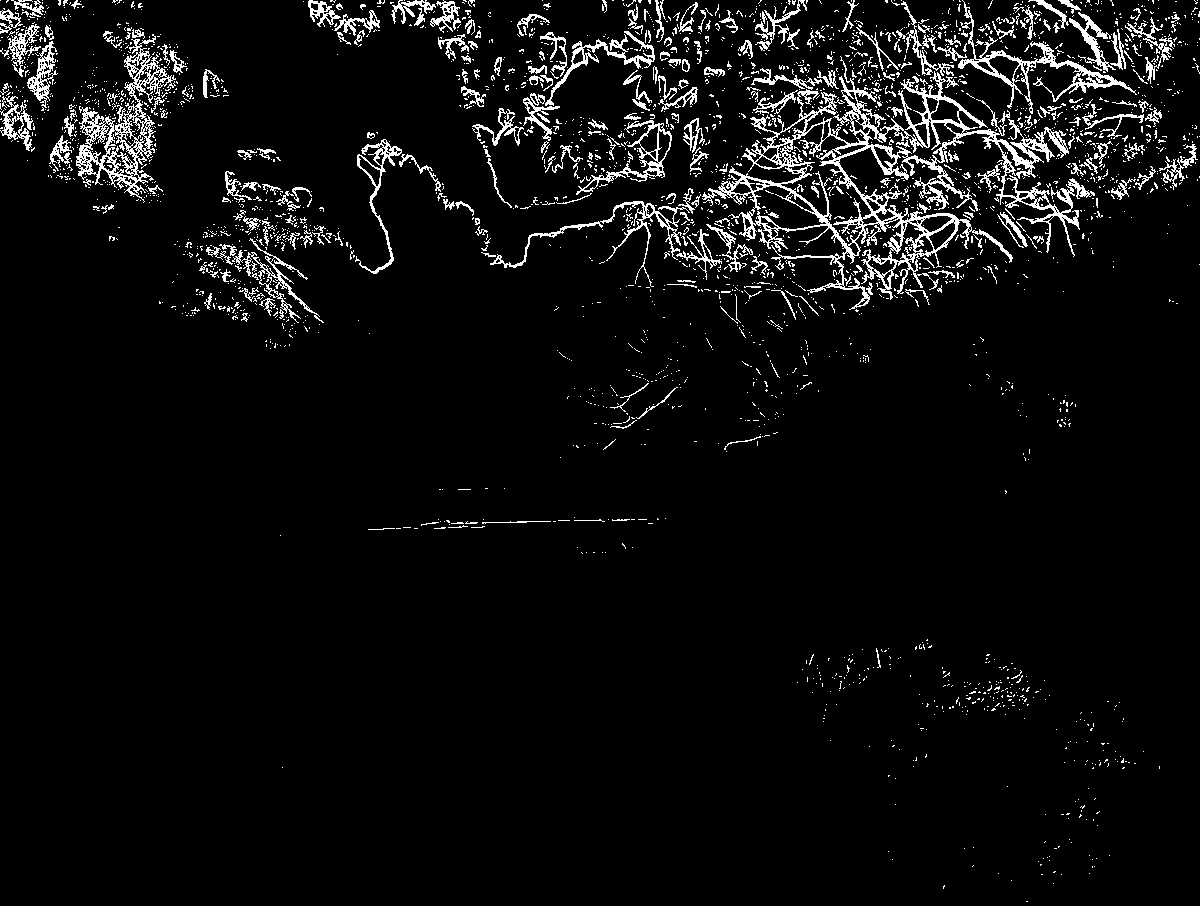
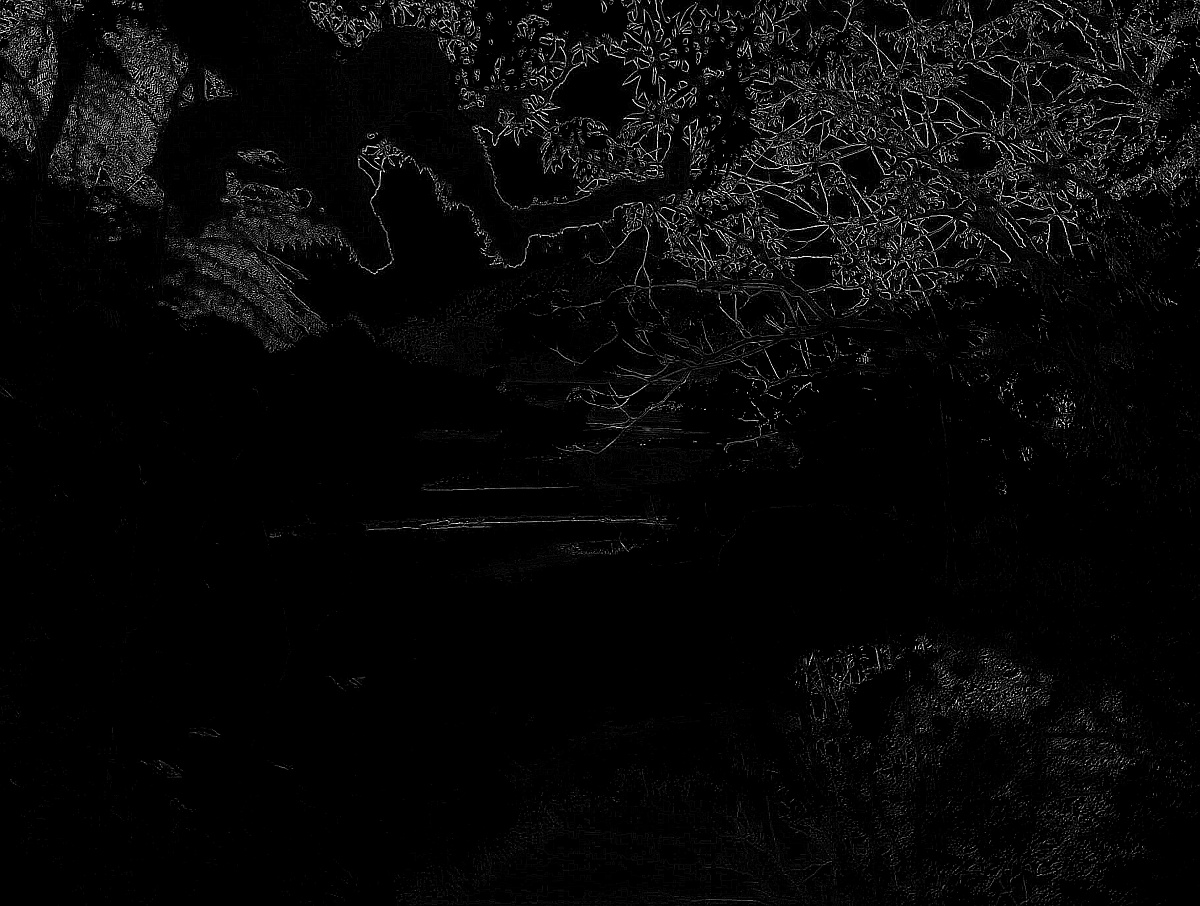
That brings us up to about 95% complete. Now the problem has to be addressed that the current script alters areas of red, blue and magenta and not just the edges. Starting with the image in Fig. 5, edges are detected (Fig. 11), this edged image blurred a little, the threshold stretched and this image used as a layer mask for determining which areas of the decoloured image (Fig. 10) replace the original (Fig. 12). To estimate the threshold stretch some values about the number and distribution of the edge (white/grey) pixels is needed. This means that similar results should be obtained with differing amounts of edges.
 |
 |
Comparison of the results
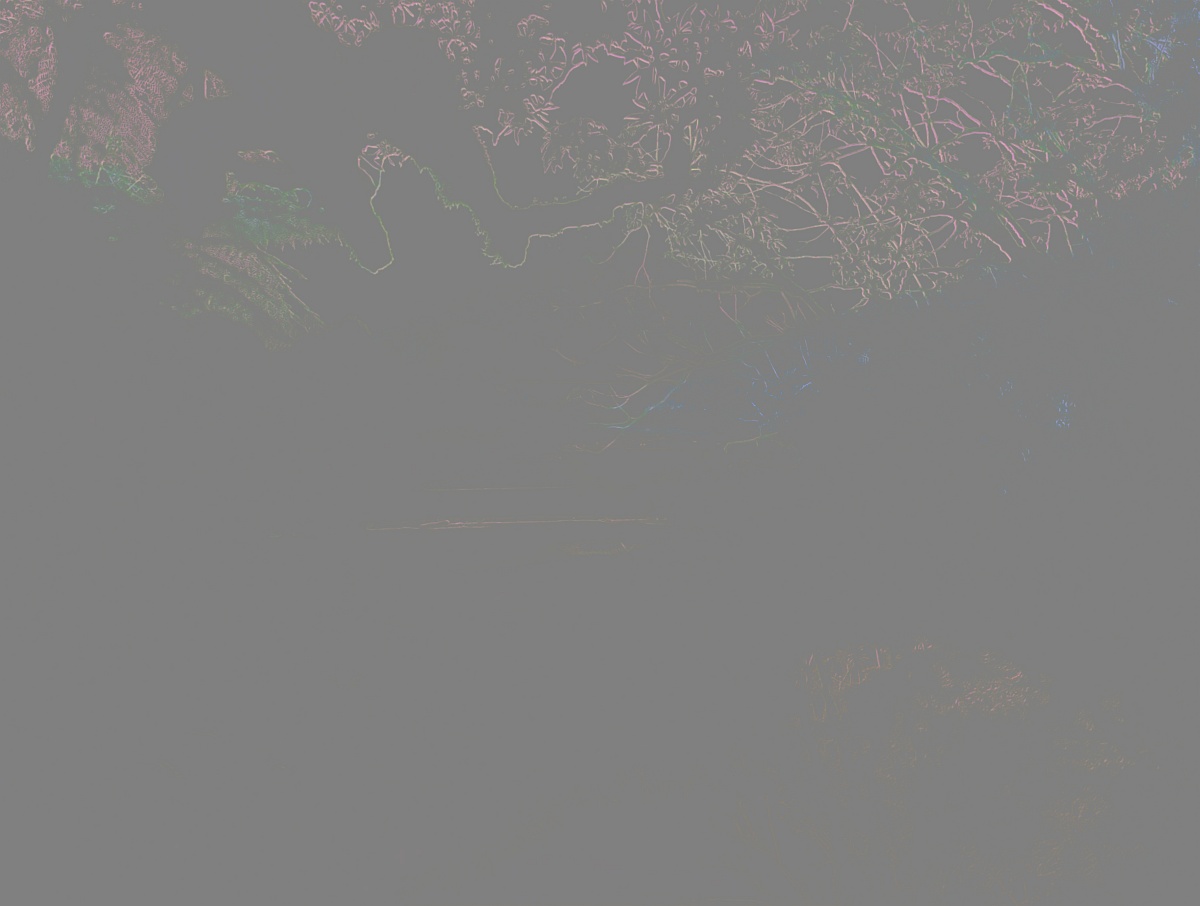
To compare the images before-and-after, the images were stacked in the GIMP and the upper (processed) image layer was represented in the grain-extract mode, which subtracts the lower image from the higher image and adds 50% greyscale to all pixels. The colours removed are shown clearly on the grey background (Fig. 13-16).
One major difference between Darla and the current method is obvious from the comparison of the two methods (Fig. 15) ” Darla removes the purple edges in a similar fashion to the method in Fig. 10. In other words, the current method preserves or restores more dark areas than Darla does. Superimposing Darla’s method on the image produced here results in small tonal changes in blues and reds.
 |
 |
 |
 |
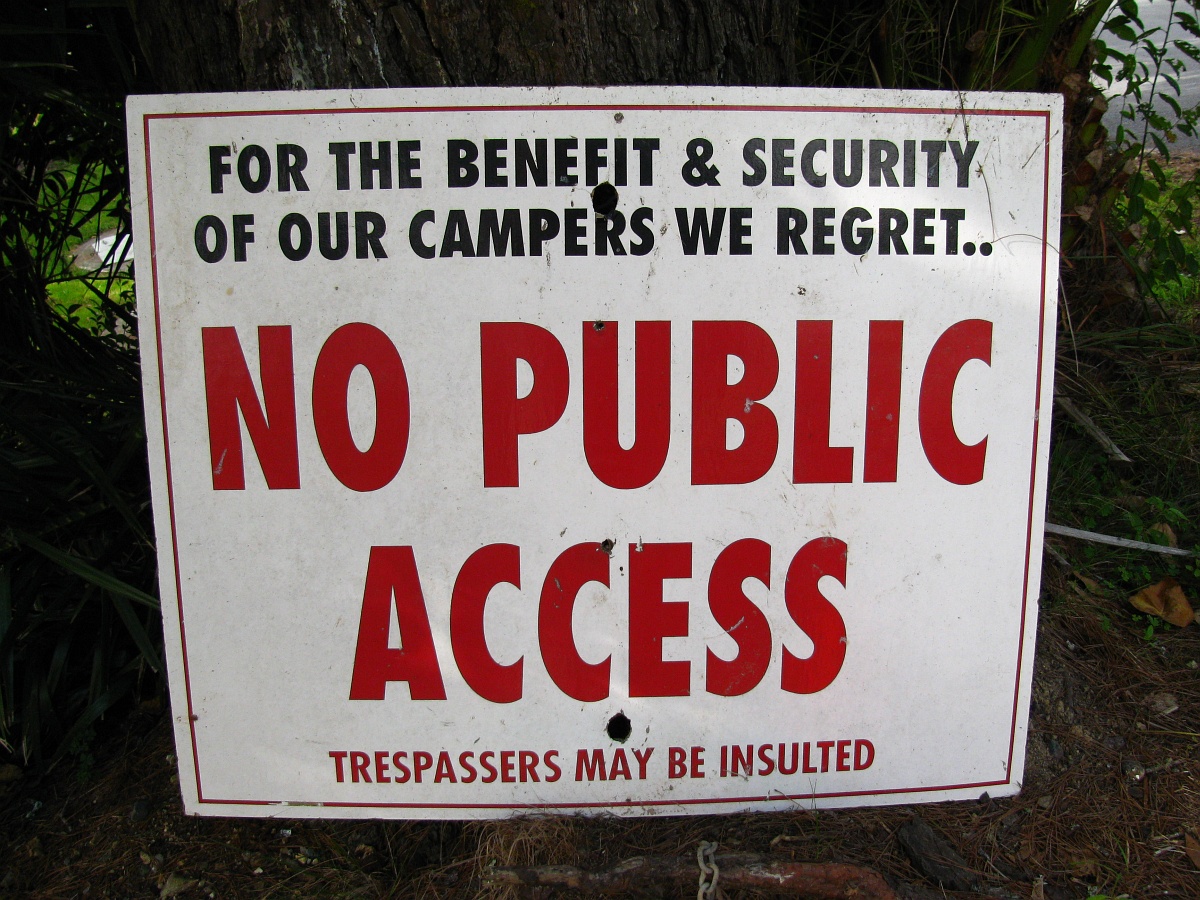
Test
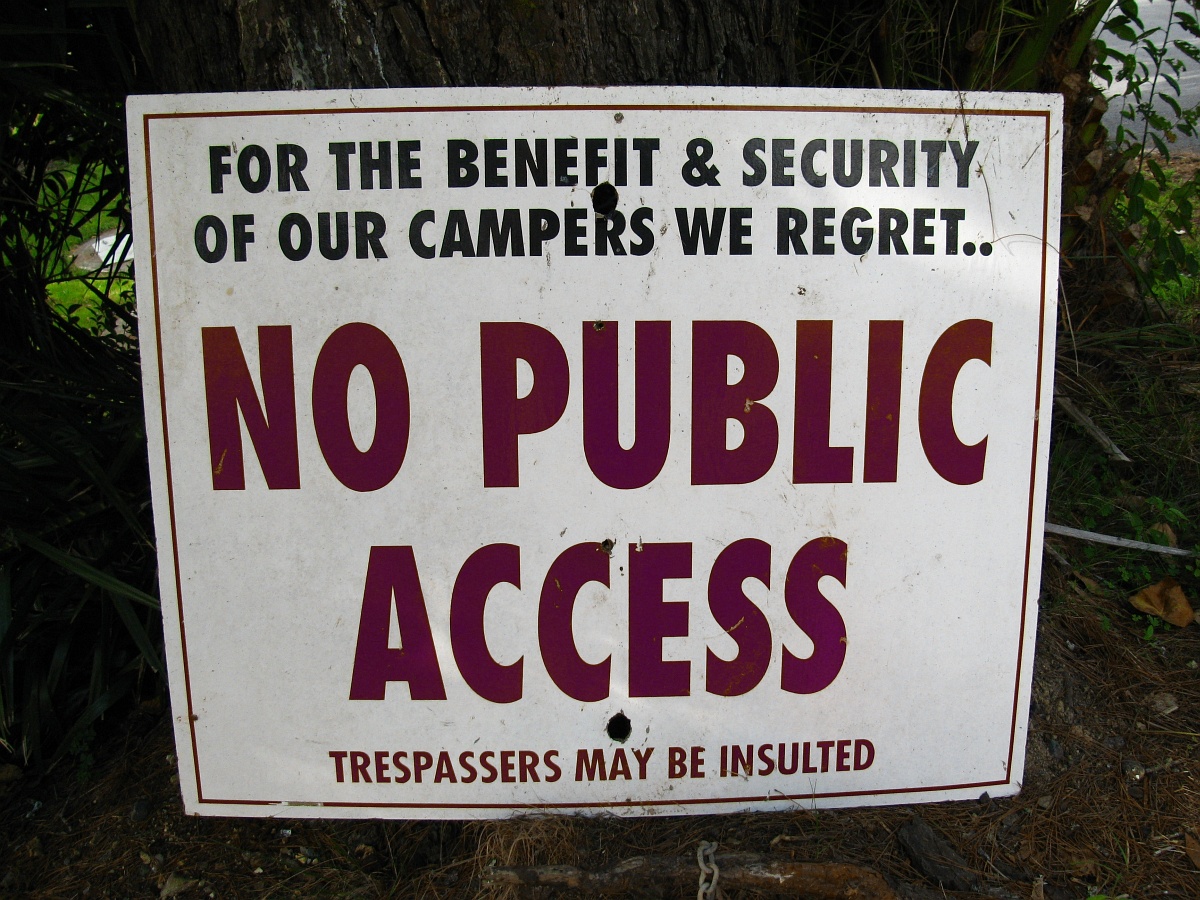
A good test case is the image “No Public Access” (Fig. 17) which has large red areas. The decoloured image (Fig. 18) shows a major undesirable hue shift. However, when this shift is restricted to the edges it is noticeable only as a soft outlining (Fig. 19). The effect is somewhat less noticeable by using Darla’s Purple Fringe, but it is still present (Fig. 20).
 |
 |
 |
 |
Recommendations and Scripts
Removal of the Purple Fringe by Script #5 should be performed after removal of general chromatic aberration (green/purple fringing) but before colour/hue manipulation.
Images with bright red, blue or purple subjects may experience noticeable outlining of the coloured areas.
As always: Use at your own risk!