A great little life extender for my cameras has been the Canon Hackers’ Development Kit (CHDK). I originally wanted something to take multiple shots at different exposures (automatic bracketing) that could then be moulded together to produce High Dynamic Range (HDR) photos. Well, it did that, and returned RAW shooting, a couple of grids, and the ability to program the cameras to do all sorts of things.
Including time lapse. By which I don’t mean the 50 frame sort that runs for 2 seconds in what can only be described as a frantic time lapse potpourri. I mean extended time lapse of a whole sequence of the sun setting, the moon rising (and going into eclipse), the stars revolving around the south celestial pole, kayaking down the Whanganui, clouds bubbling up Ngauruhoe, taking her over completely, and, finally giving her back again.
The most fascinating task was using continuous shooting to achieve some very fast shooting rates (about 0.45 seconds/shot on the A470 and 1.3 seconds/shot on the SX series). Now in order to make this work, a couple of compromises have to be reached. First of all, the camera can’t meaningfully be refocussed during continuous shooting, so that focus has to be set to infinity from the start. That’s not too bad, because most scenes will be shot at a distance. The second compromise didn’t turn out as well, though, and that was having to stop the sequence every now and then to adjust the exposure. This meant taking the camera out of continuous mode, remetering, and starting up again. Now, that doesn’t take eternity, but just long enough, that when the sequences are replayed, the regular gaps (of 1-2 seconds) can easily be identified.
I did all I could to try to bridge these gaps – solid fade interpolation was the best bet I could find – but nothing was really convincing. Remetering had to be done, that was out of the question, although some interesting effects could be achieved by implementing a fixed exposure sequence of the kind used to generate “day2night” composite images. Especially when kayaking around the Lesser Circuit here, we might go under a bridge, with the continuous shooting still using the exposure values for pure daylight, and the pictures just became darker and darker. Once under the bridge in almost complete darkness, the continuous shooting would stop, the scene would be remetered, so that the exposure was perfect again, but then we would leave the bridge behind, continuous shooting still using the exposure for almost complete darkness, with the result that subsequent images were all overexposed until the next pause in shooting. This was not such a problem on the Whanganui – if I recall correctly there was only one bridge over the whole 150 km length of the trip, but with the direction continuously changing and entering the shade from clouds, trees and the hills, exposure still drifted from optimal during the course of 50 seconds of continuous shooting. Nor did it help very much to reduce the length of the shoot, as the gaps simply became more frequent.
CHDK is a volunteer community that has achieved some remarkable things with these very simple cameras. On my return from New Zealand in April, 2015, I was made aware of an experimental build of CHDK (finally released in December, 2015 as CHDK 1.4) which contained a script rawopint promising to correct exposure on the fly during continuous shooting, and would I like to try it out.
In all fairness, I will have to warn you that the script is not that easy to operate, i.e. to find the values that will be suitable for your particular purpose (I think it was a mistake to have ordered a brain this size), and there are definitely a couple of things that need to be done to improve usability, but here goes. Rawopint sets the camera shooting in continuous mode and compares the last two shots. Actually it doesn’t compare the shots themselves, but the brightness values of the display (!), and corrects the exposure accordingly, whereby the user can determine the limits of the correction (e.g. limit the amount of change, or set the absolute value of the shortest shutter speed). The cost: About 100 ms, i.e. the A470 shoots at around 0.55 seconds per shot instead of 0.45.
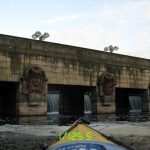
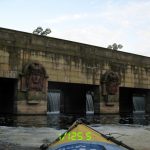
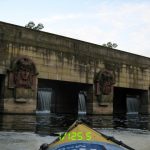
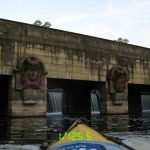
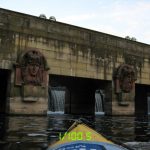
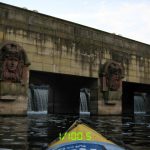
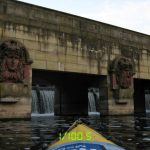
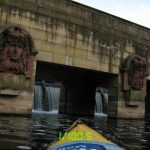
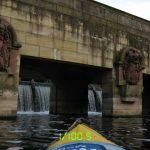
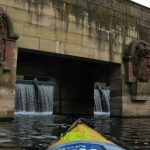
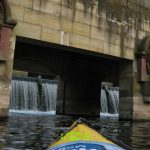
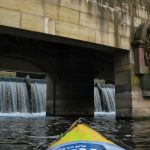
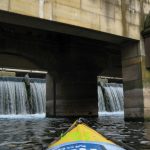
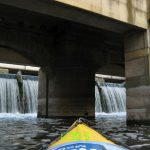
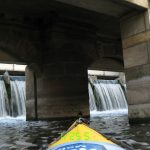

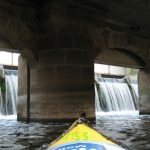
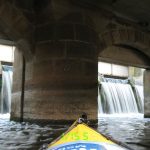
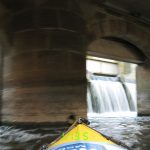
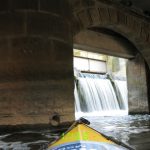
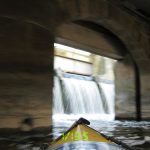
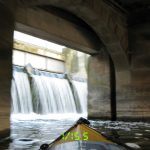
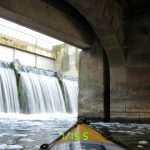
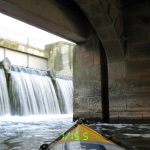
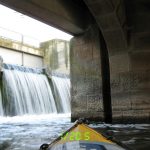
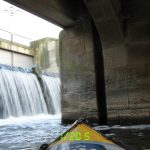
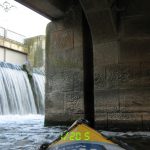
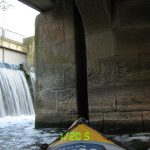

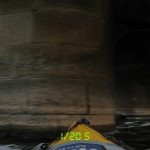
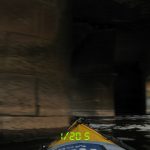
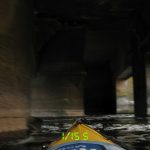
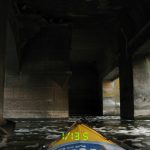
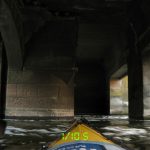
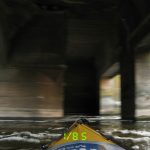
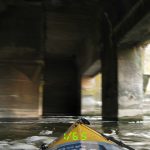

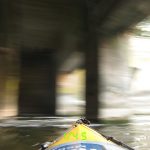
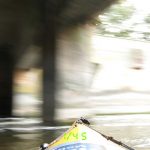
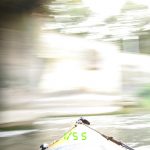
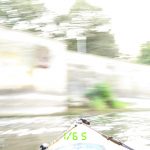
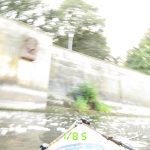
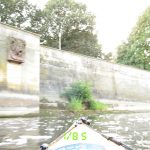
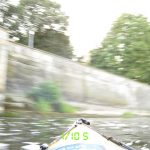
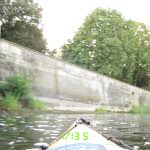
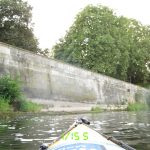
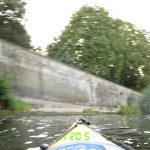
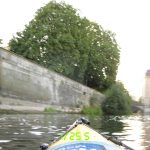
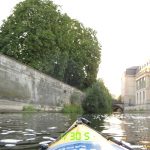
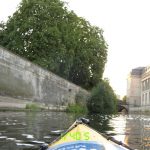
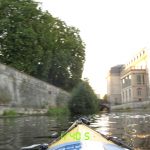

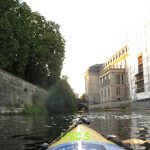
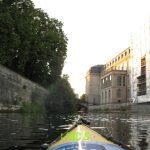
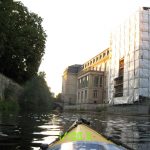
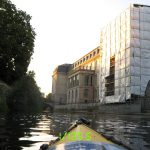
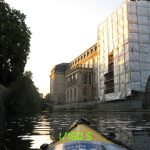
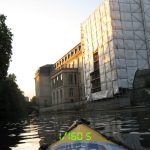
Viewing individual shots in such a series and taking the time to do so reveals what is happening. There’s a series of well exposed shots, a bridge turns up, the next shot is obviously underexposed (but not by much) and the following shot appears to have the same amount of underexposure, but the shutter speed has already been adjusted. On the other side of the bridge the shots are gradually overexposed as the exposure time decrease again. See the gallery for such a sequence.
Watching the time lapse at 25 fps is a completely different experience (AVI, MPG, WMV). The psychological expectation of “We are going under a bridge and it is going to get darker” compensates almost entirely. I’ll admit that a ¼ s shot of action footage is somewhat blurred, to put it mildly, but even that is hard to see at full speed. So the result is: Continuous shooting at 4K resolution at around 2 shots/second with automatic exposure adjustment, all in a camera for €20? CHDK.
Well, I knew I had to go back and reshoot the Whanganui River Journey anyway, due to the loss of the camera on the last journey.
Yeah, right. But there are a couple of CHDK features that I’ve yet to try, and will use this trip to do so.